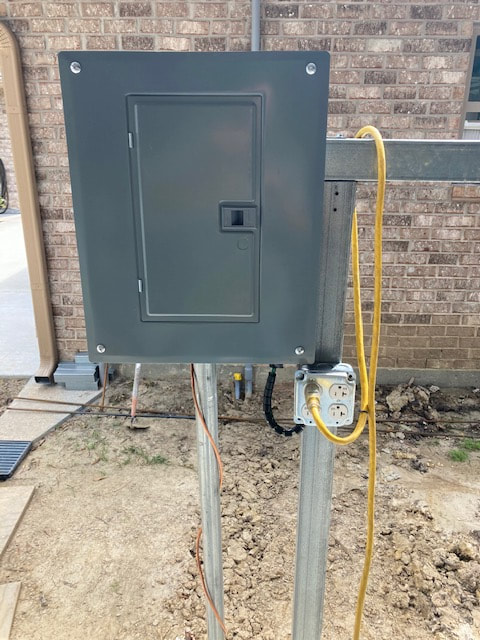
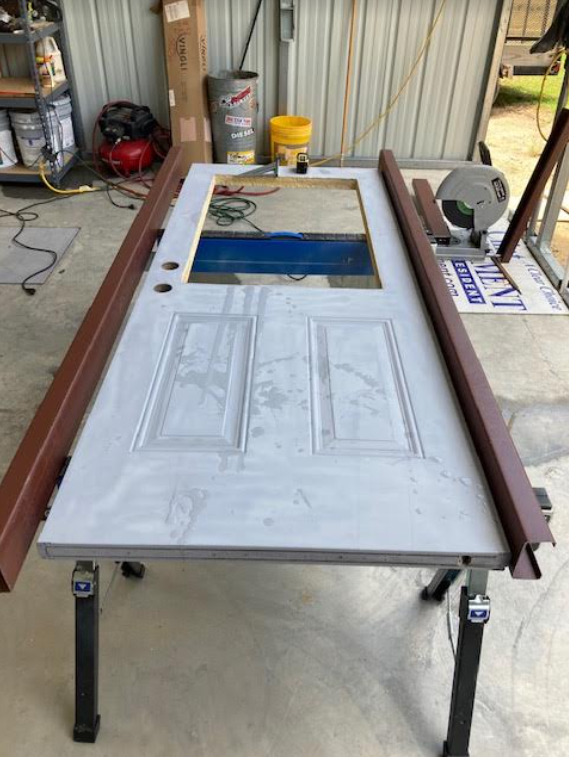
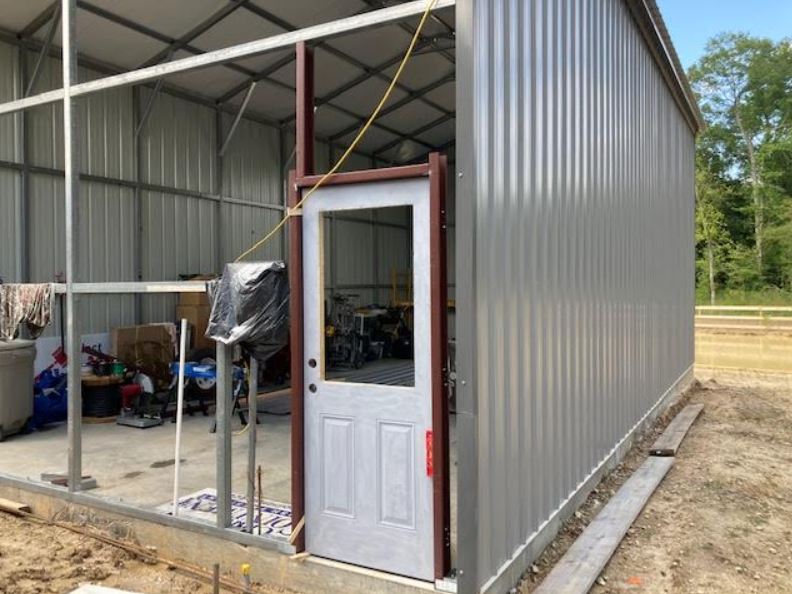
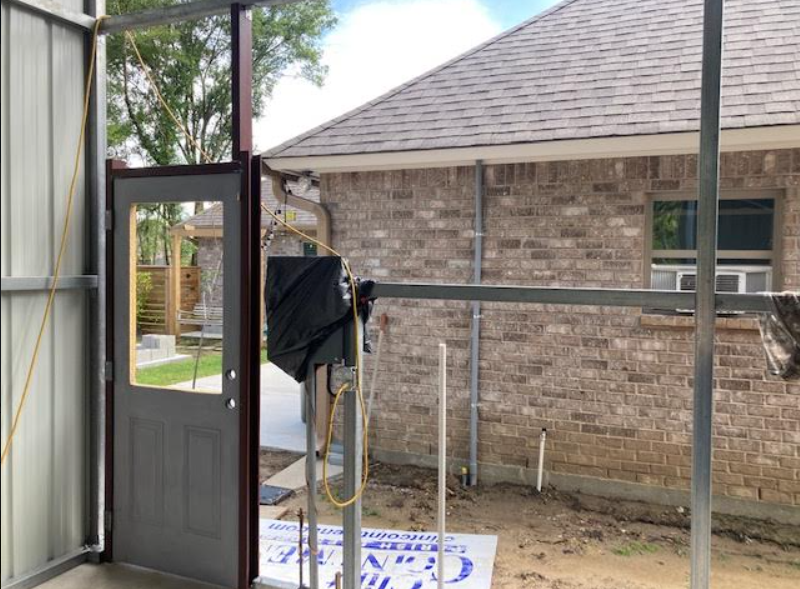
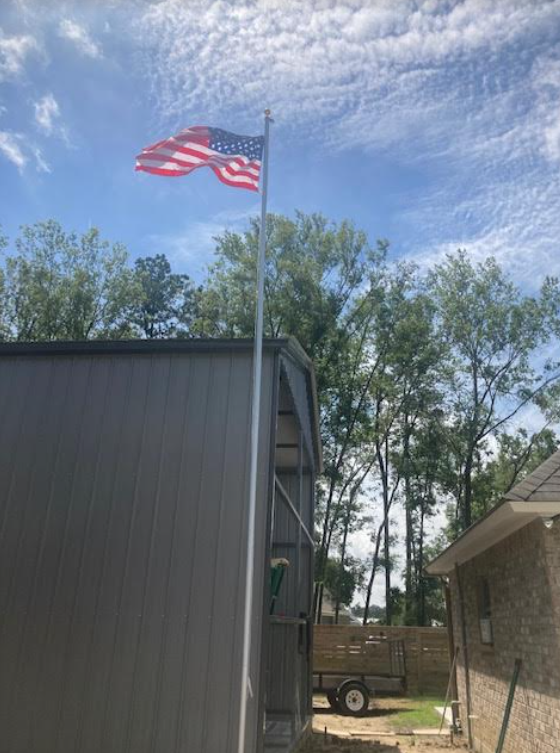
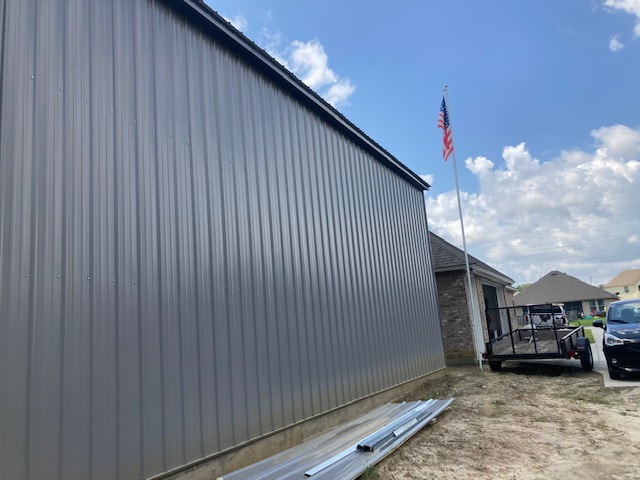
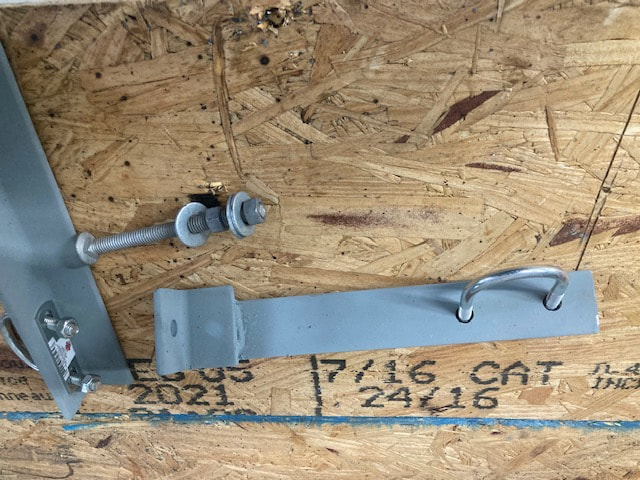
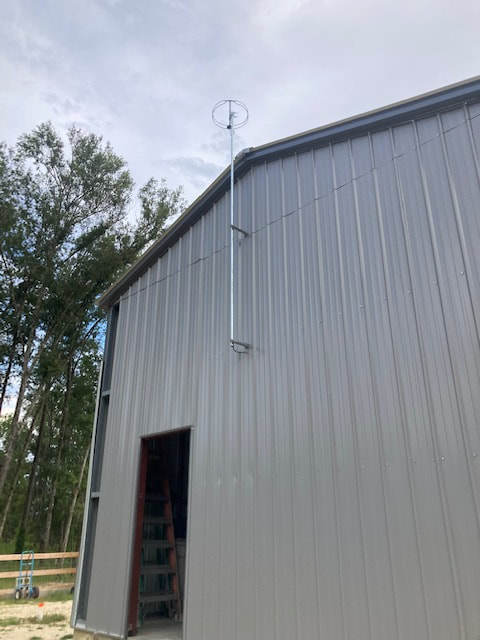
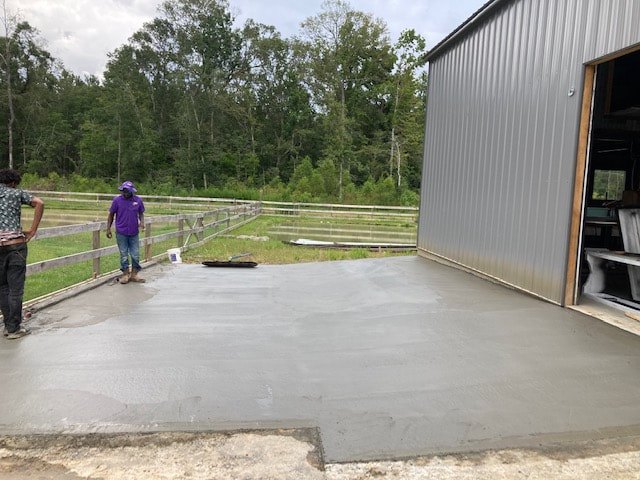
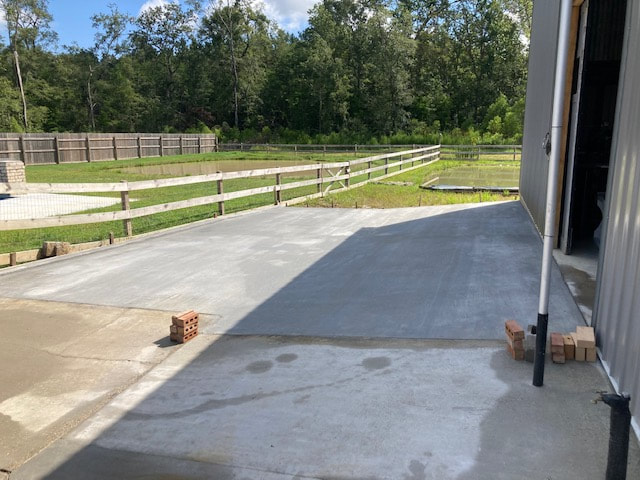
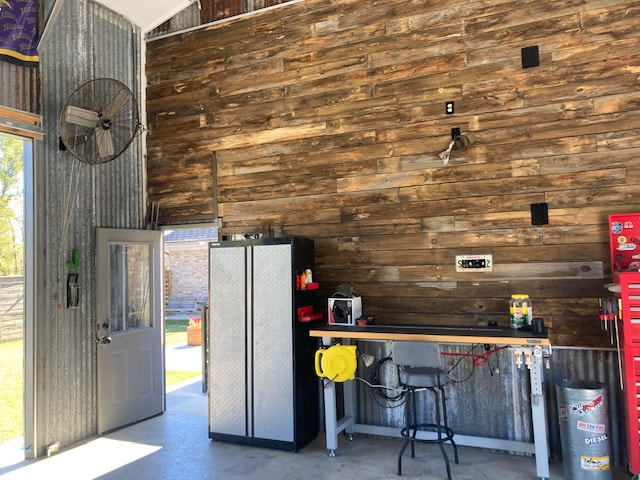
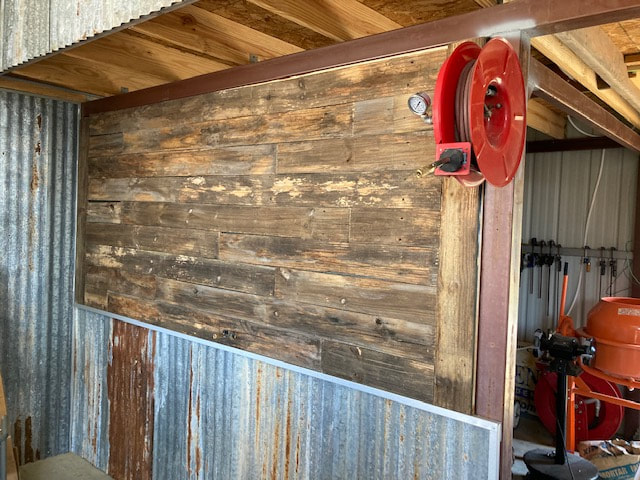
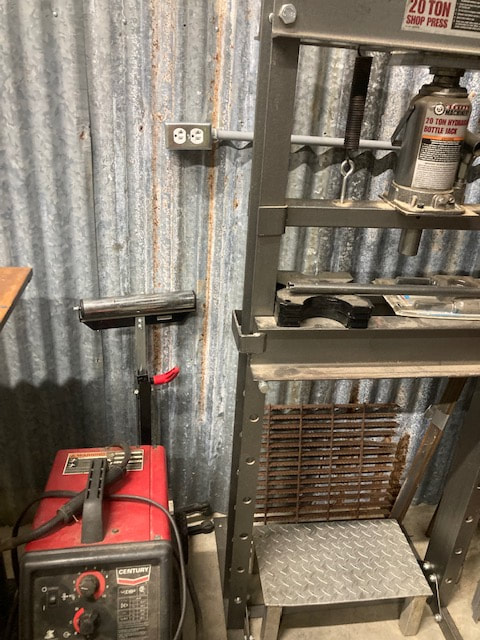
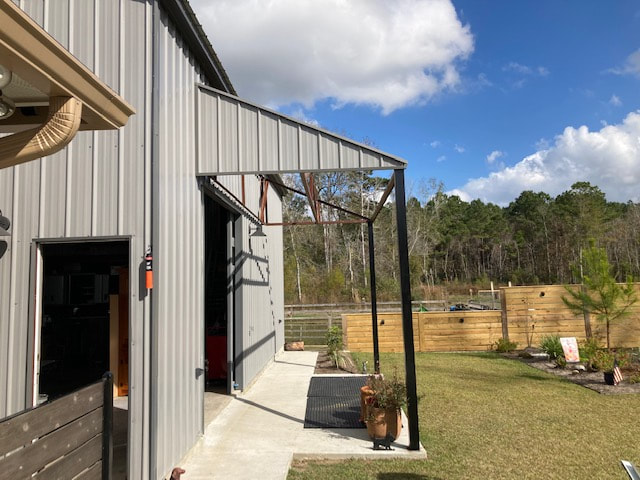
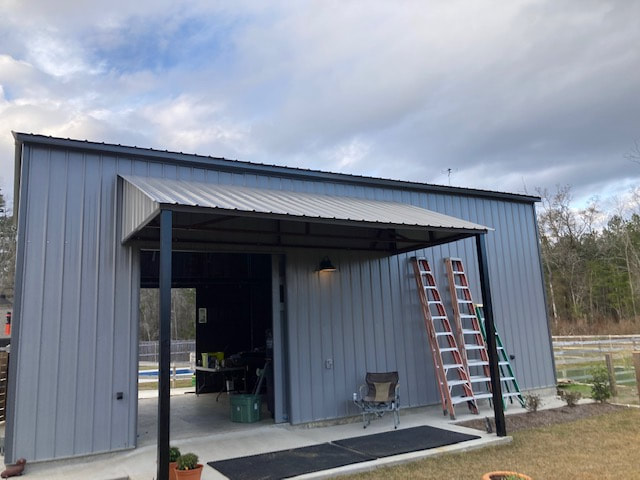
Our Projects
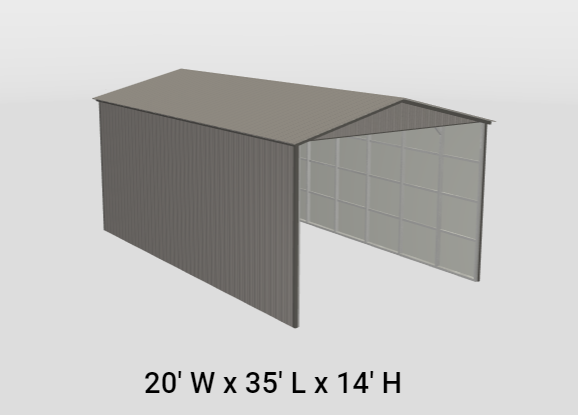
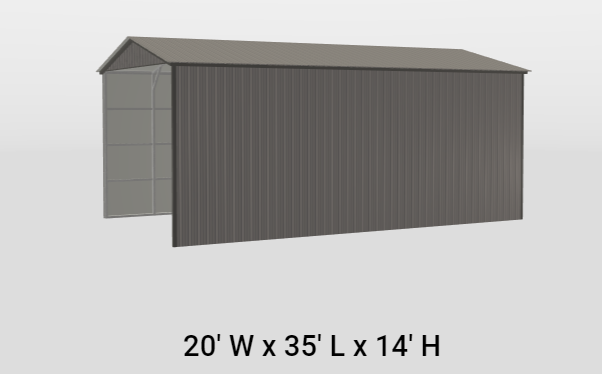
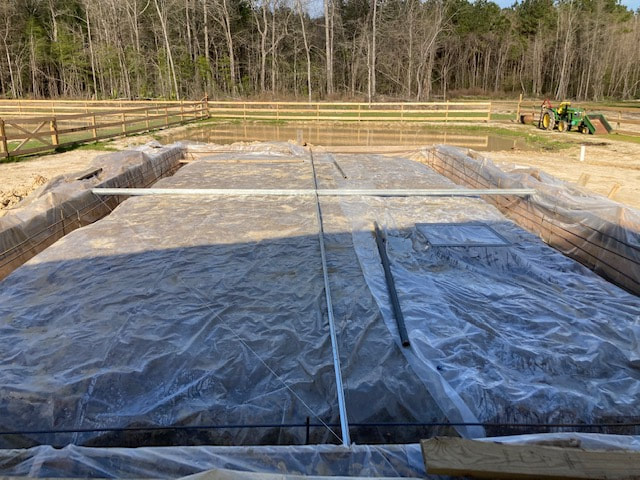
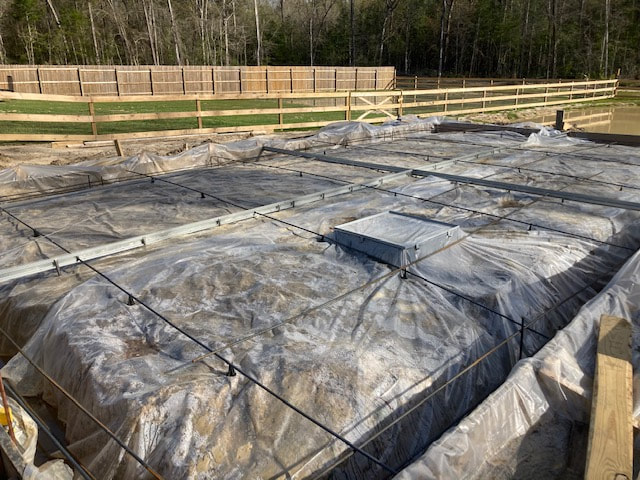
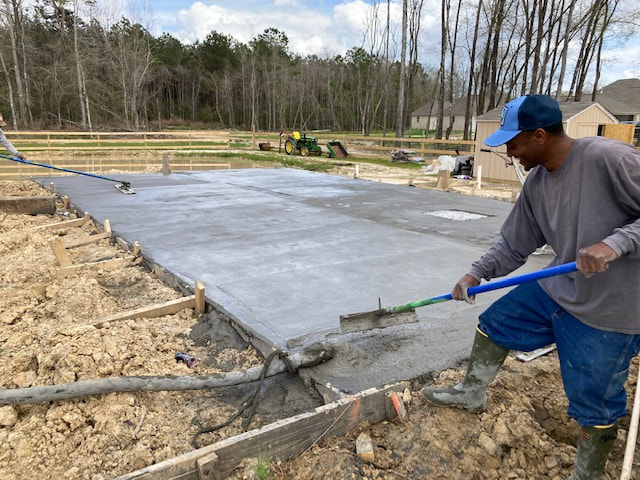
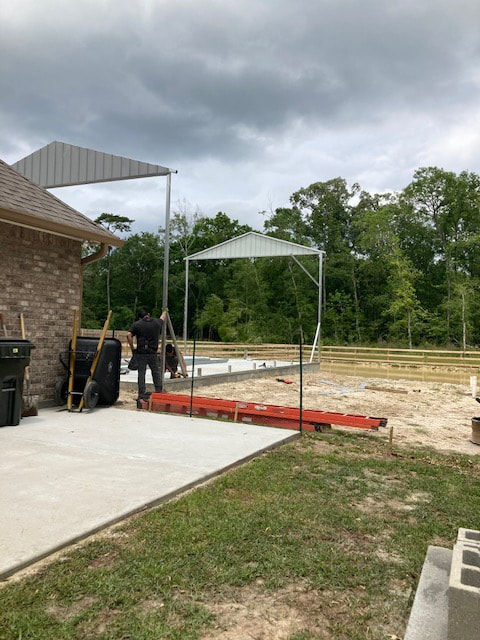
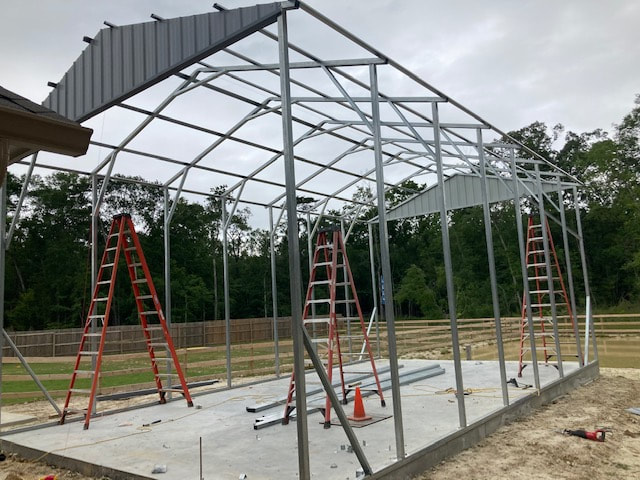
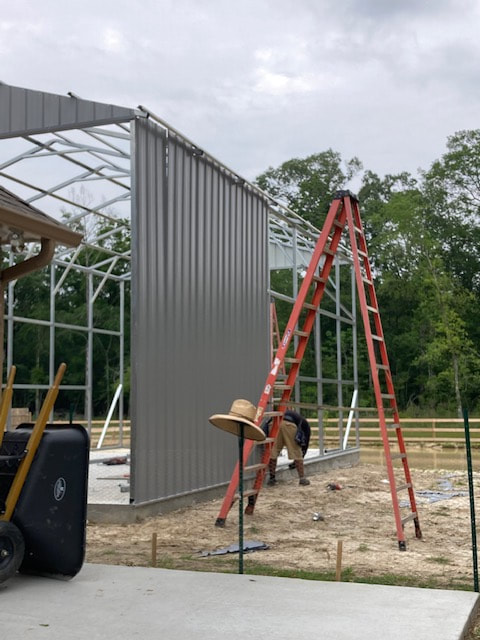
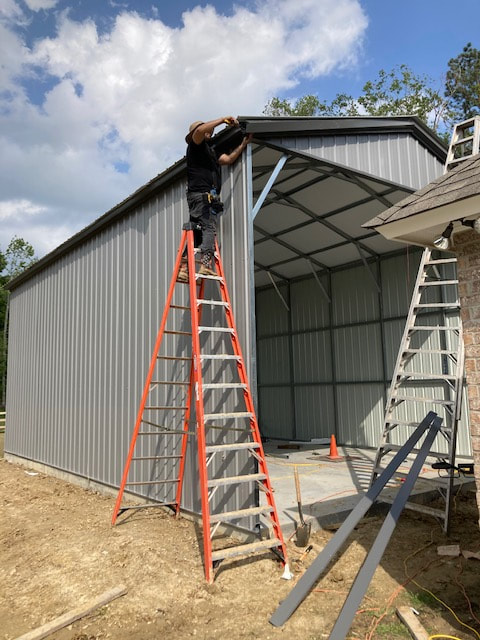
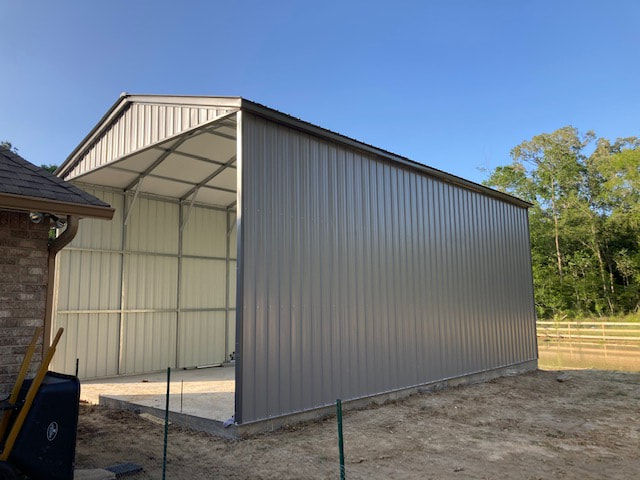
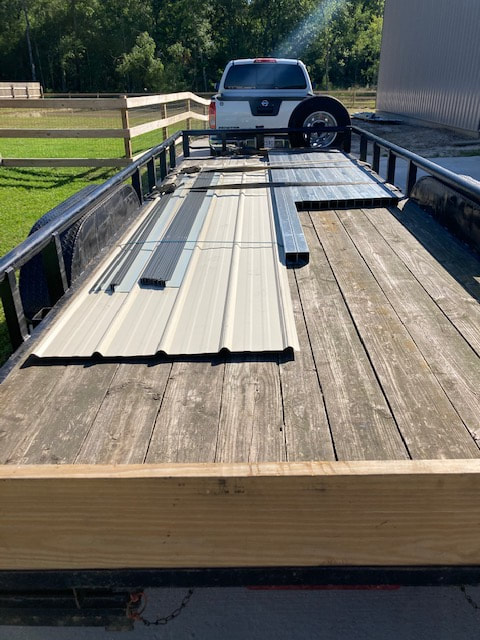
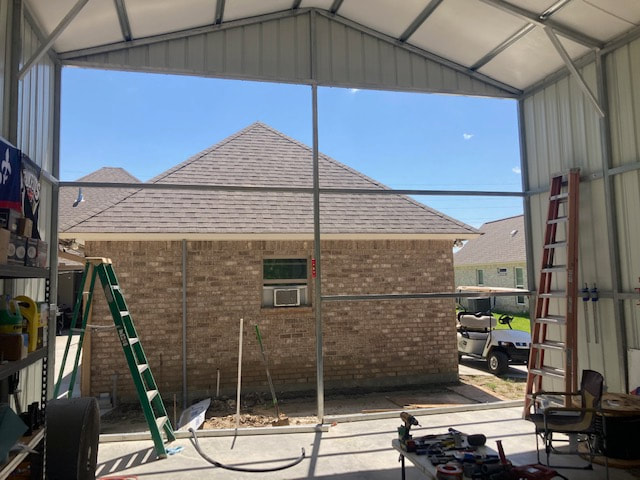
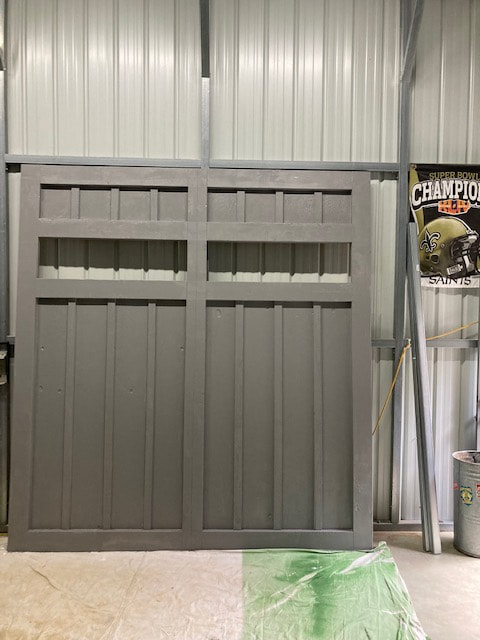
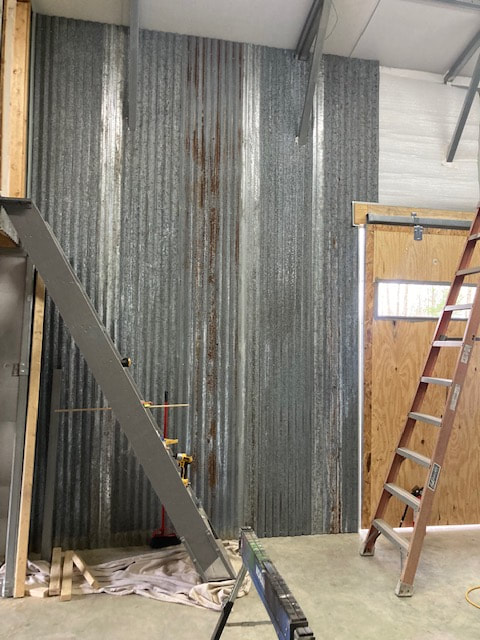
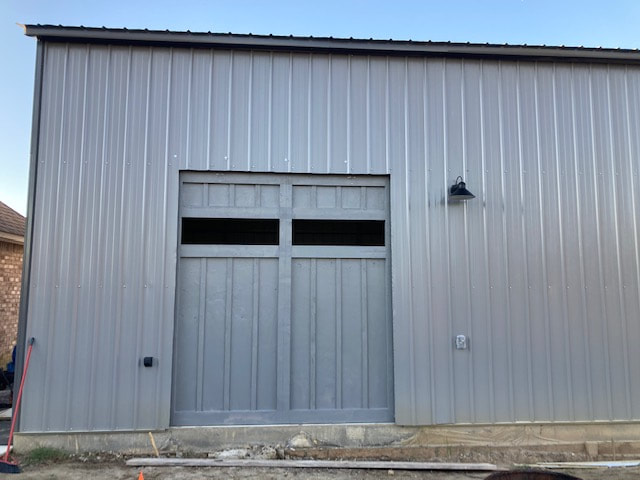
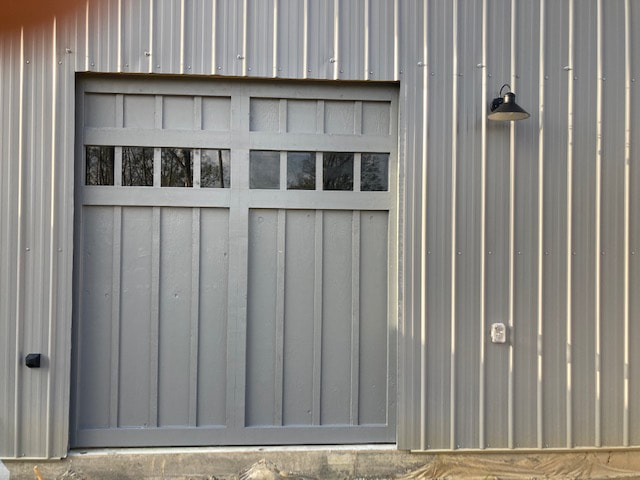
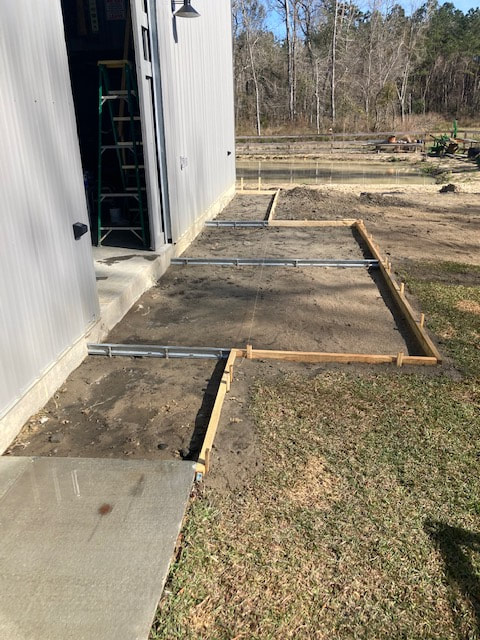
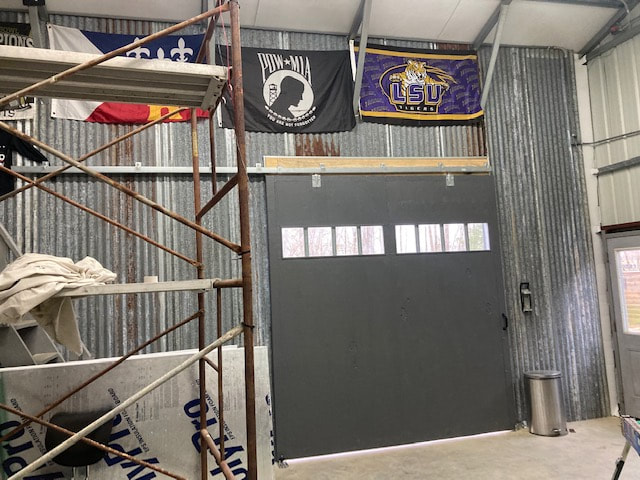
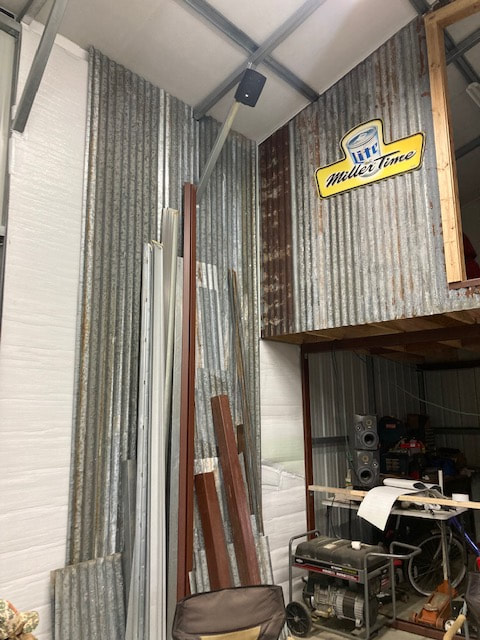
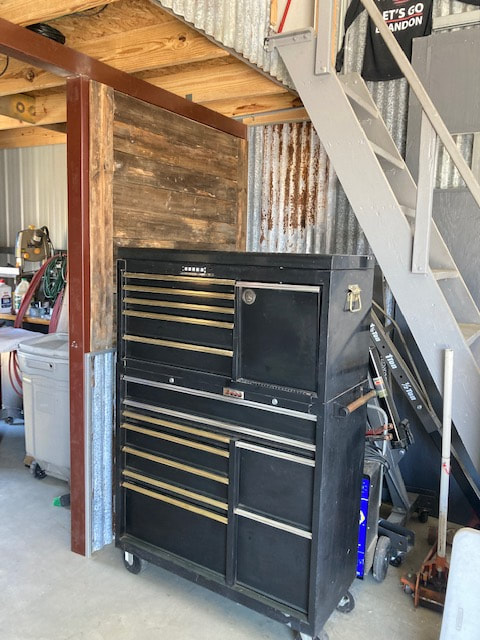
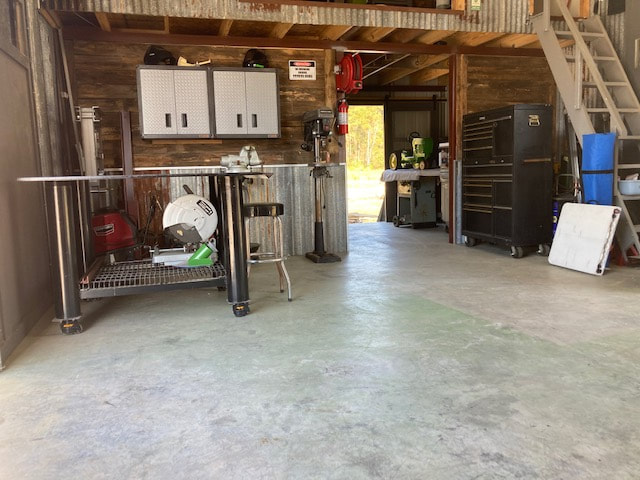
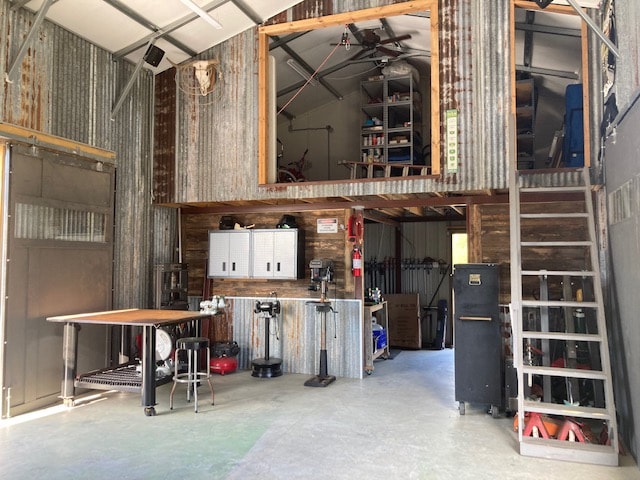
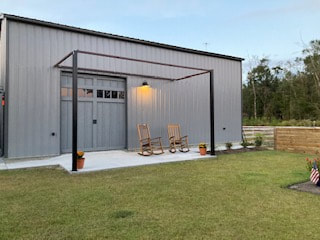
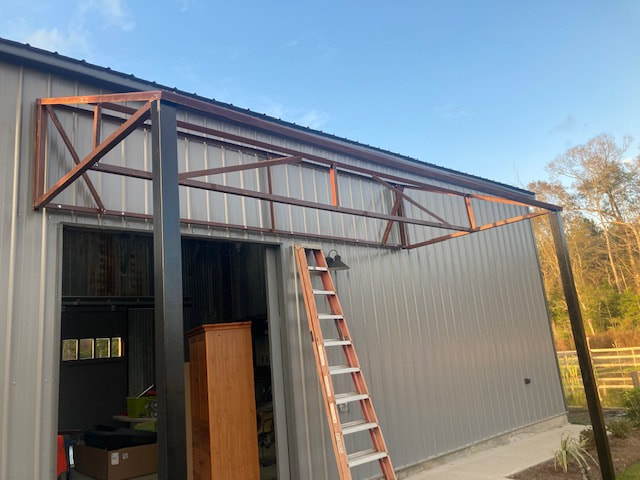
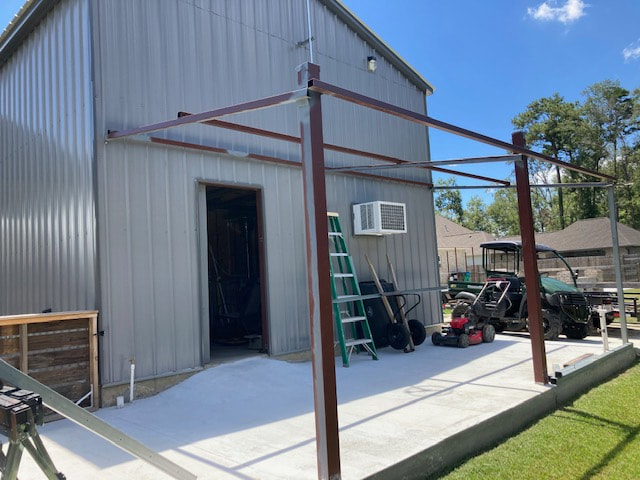
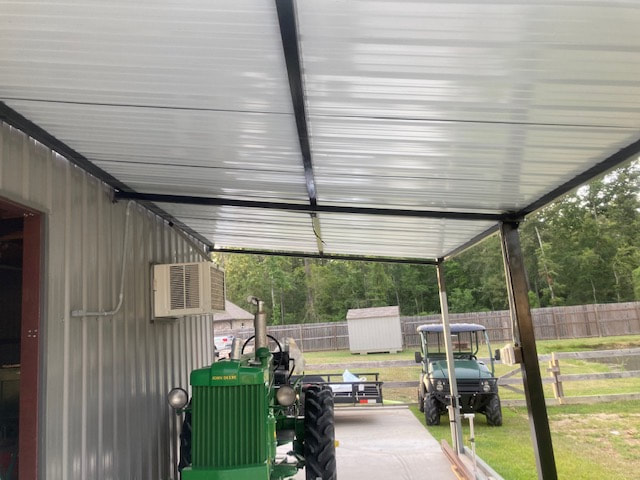
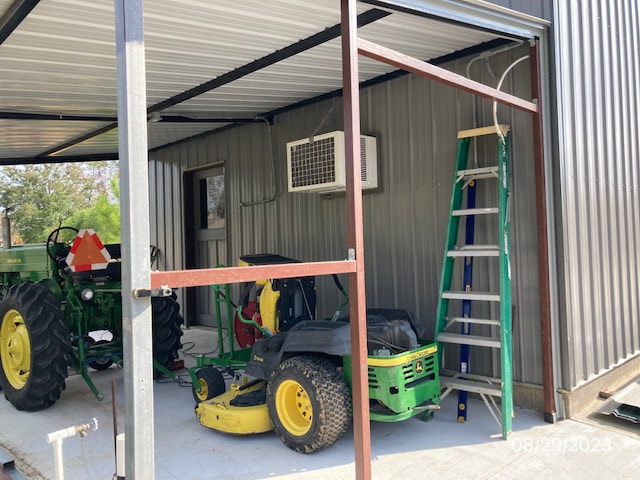
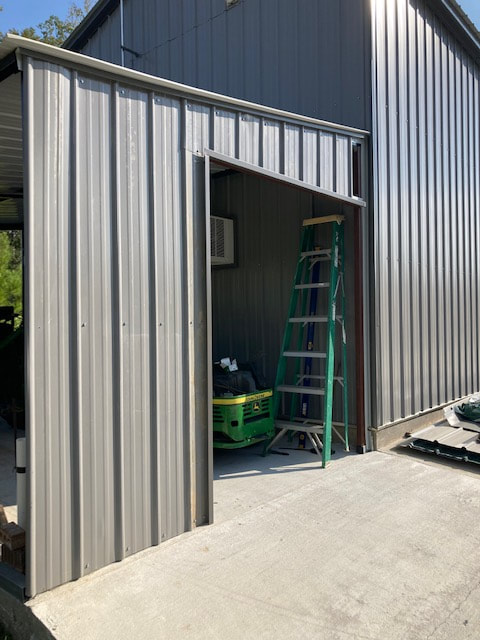
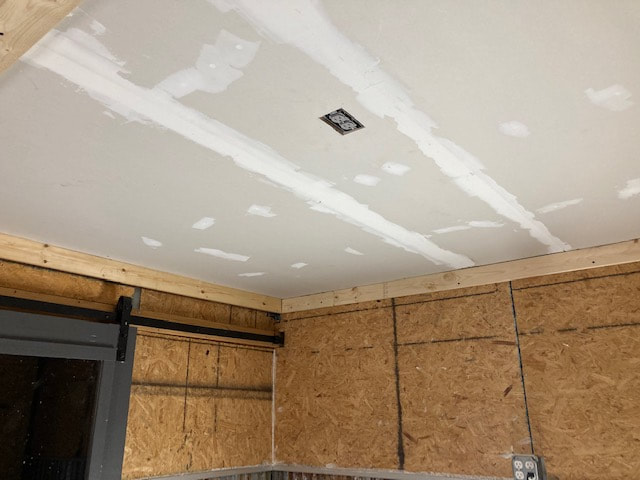
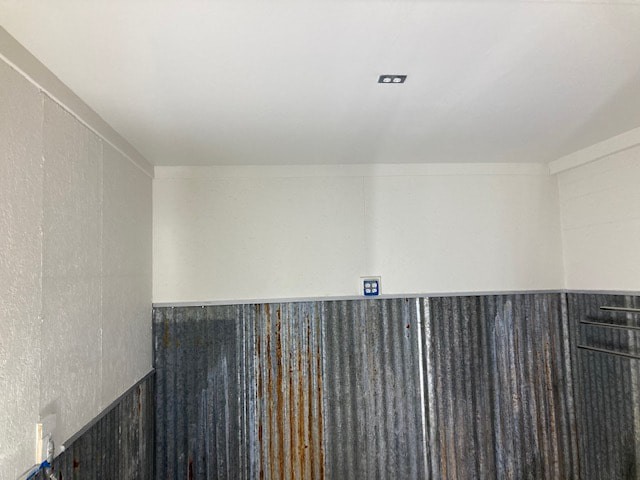
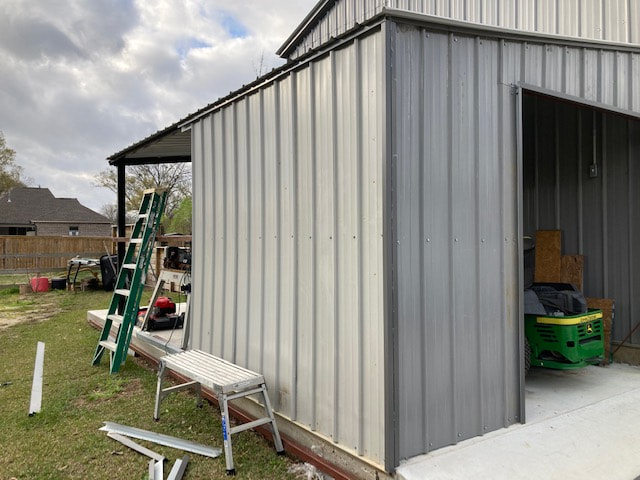
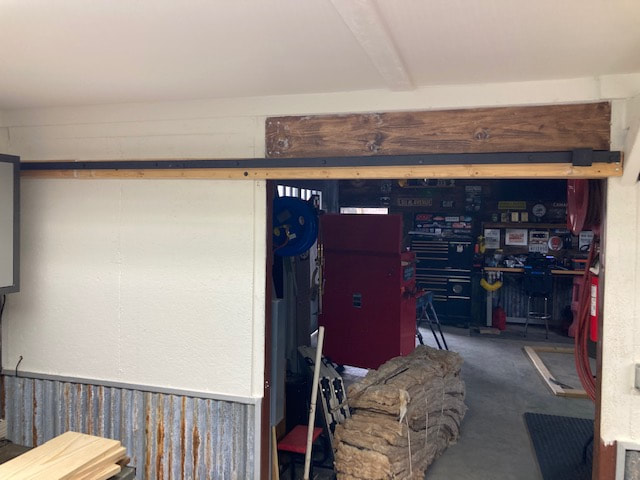
New Shop (building began July 2020)
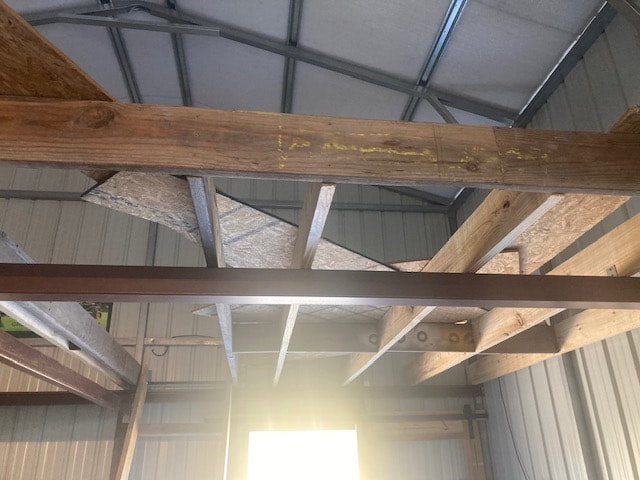
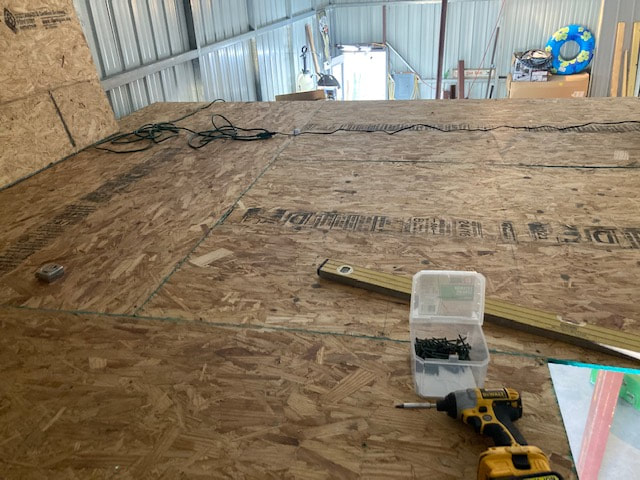
Measures will be 20' in width by 35' in length (700 sf.) on a traditional Slab-on-Grade foundation.
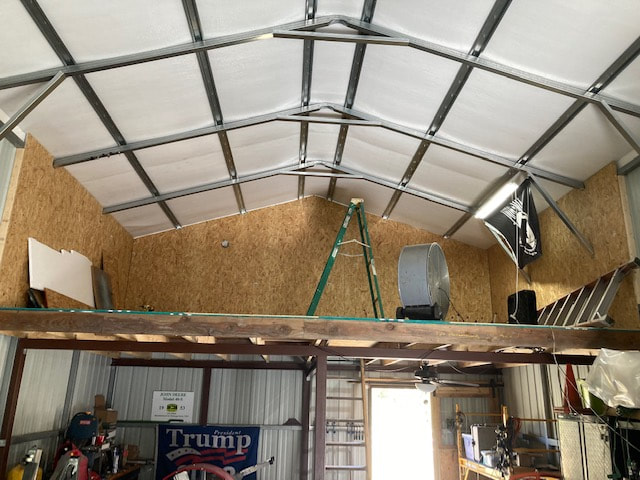
The side walls will be 14' high.
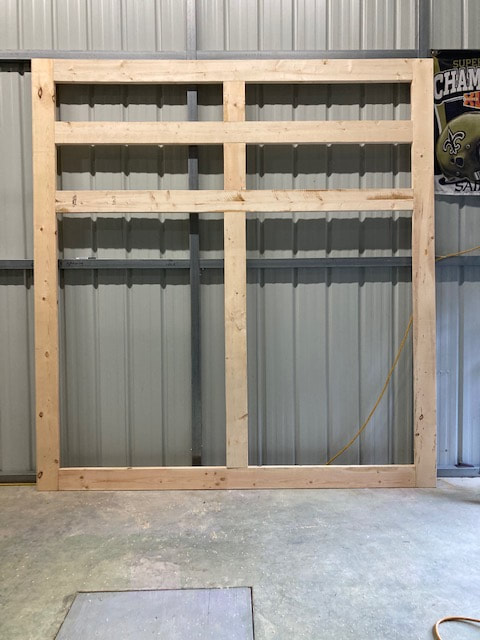
A mezzanine (loft, 20' X 12') will be built that will cover 1/3 the size of the shop's main floor.
This will give us about 940 sf. of combined work/storage area.
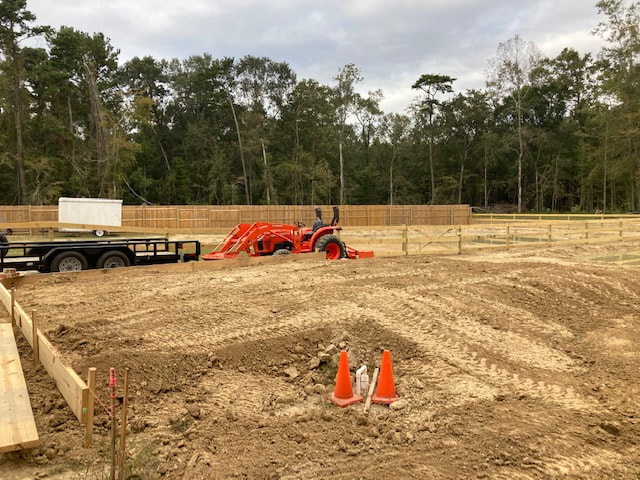
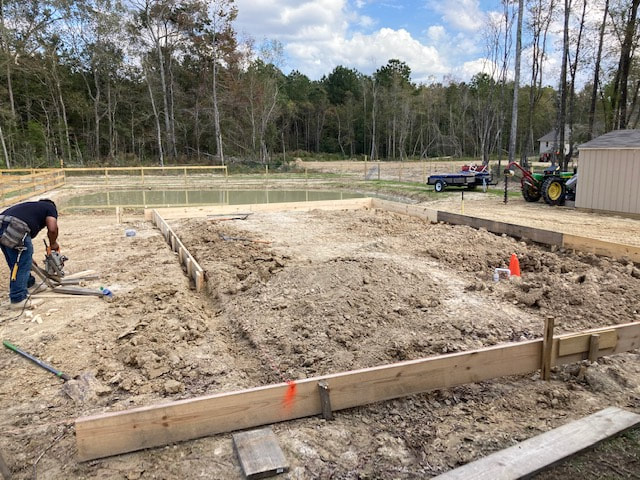
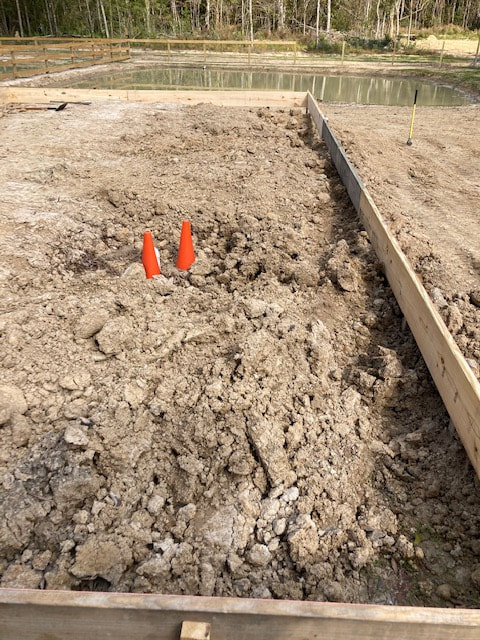
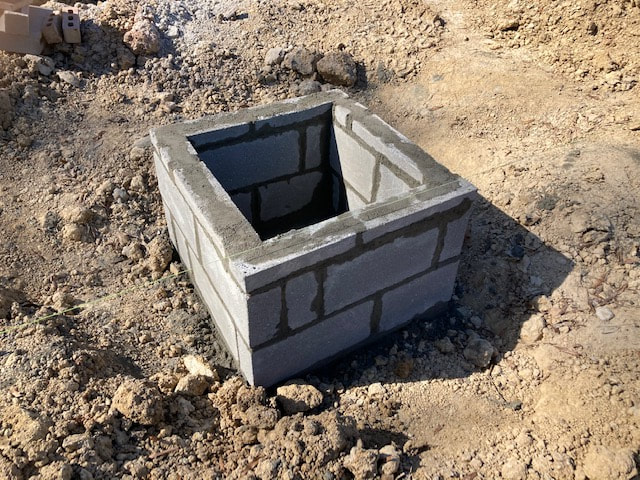
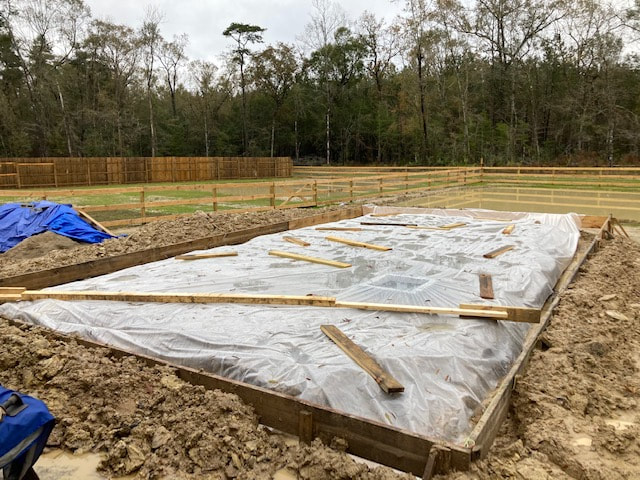
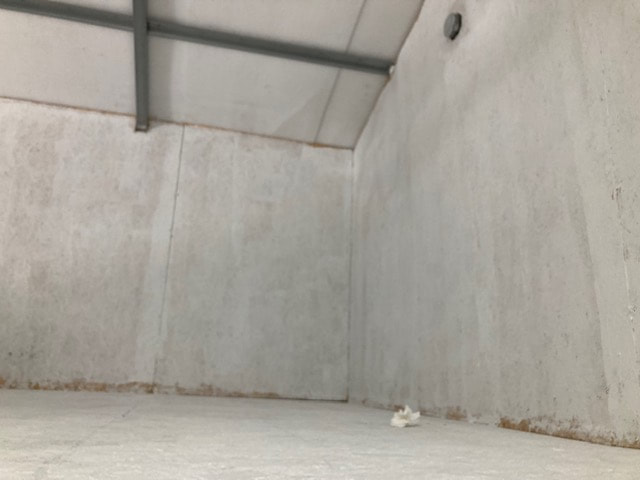
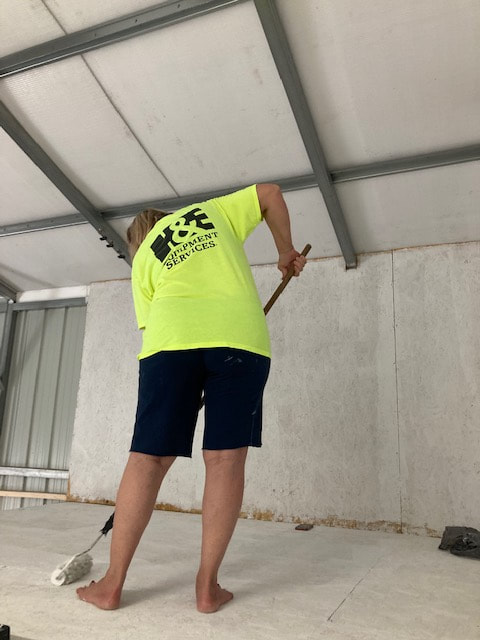
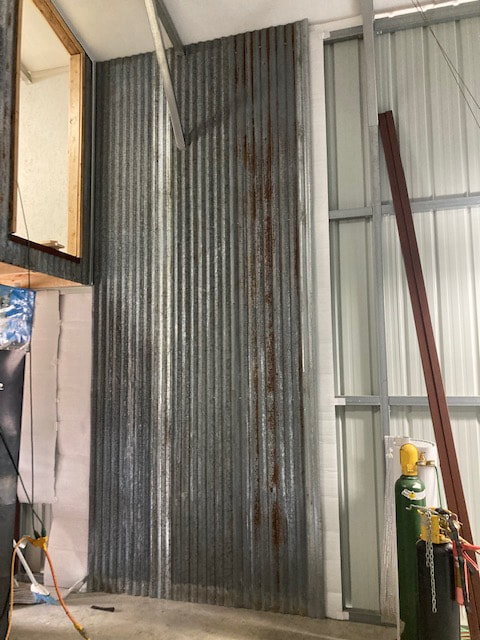
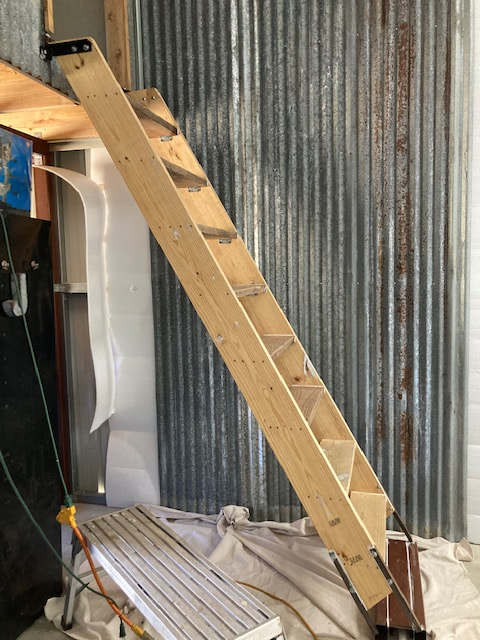
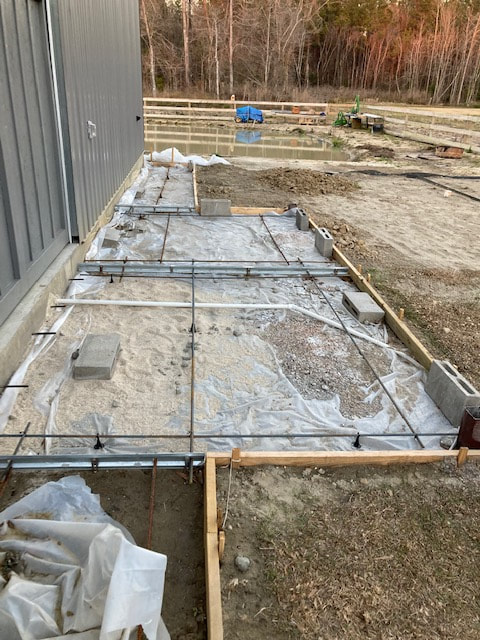
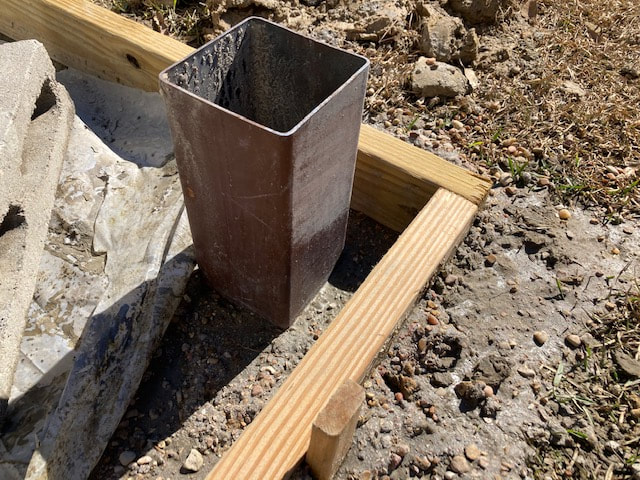
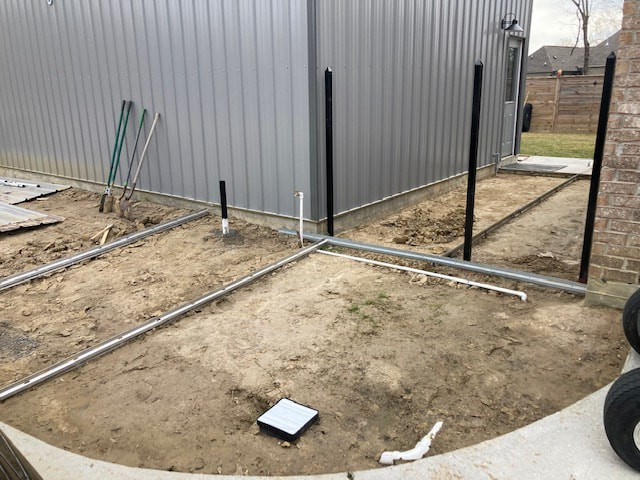
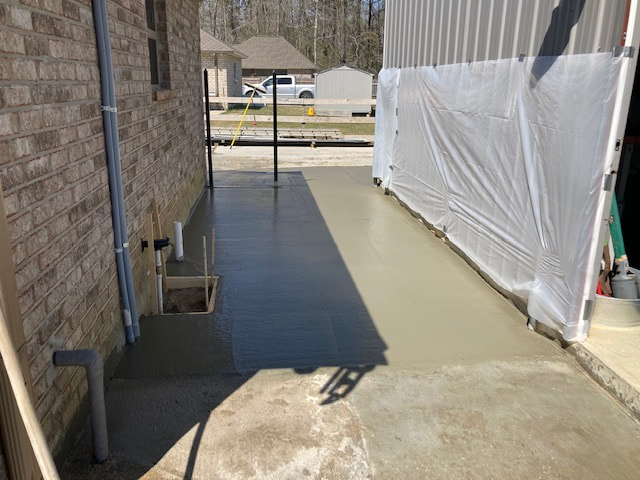
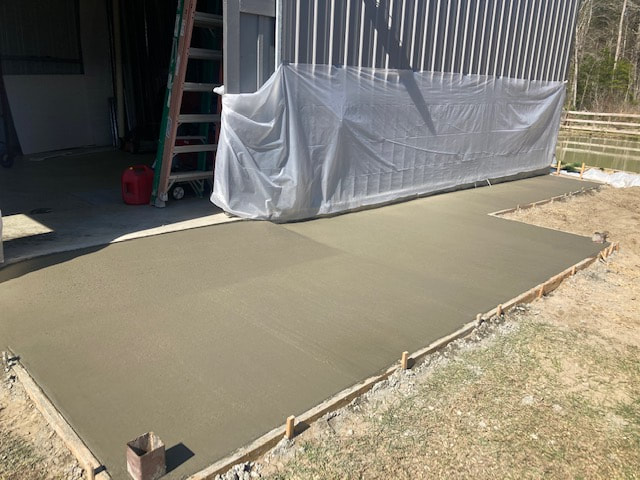
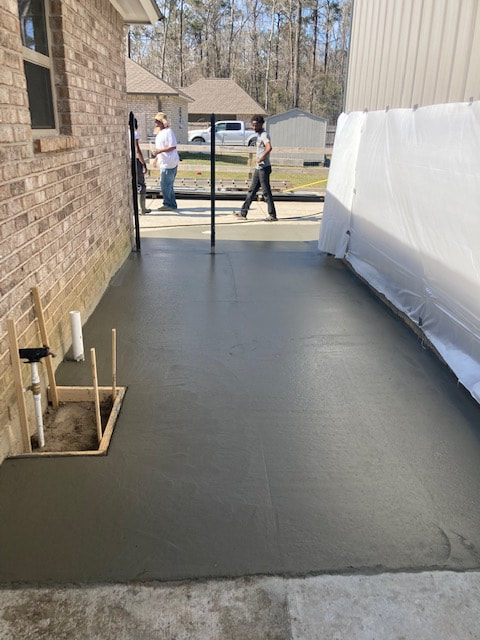
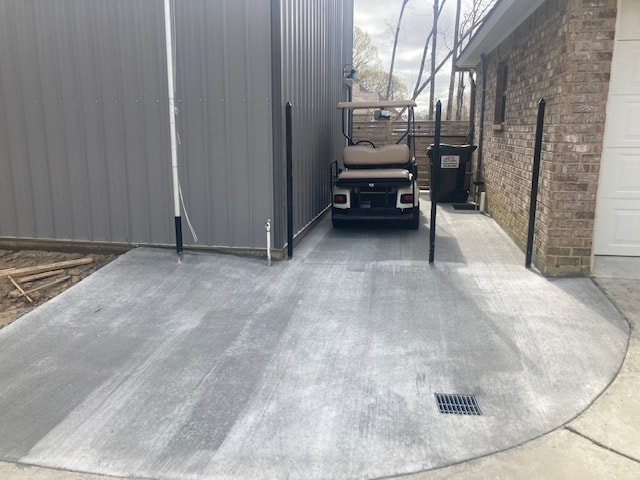
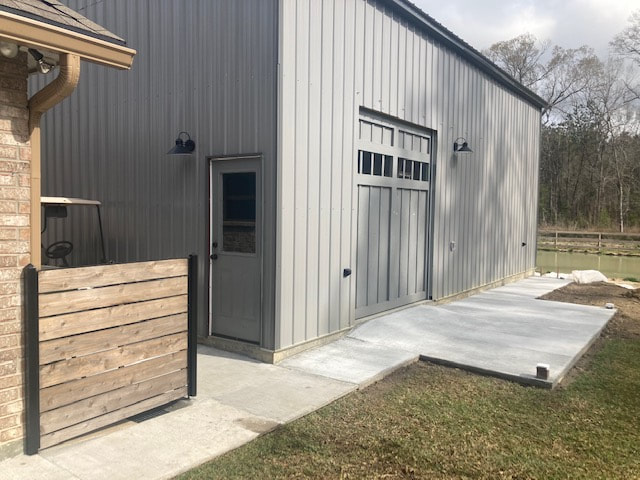
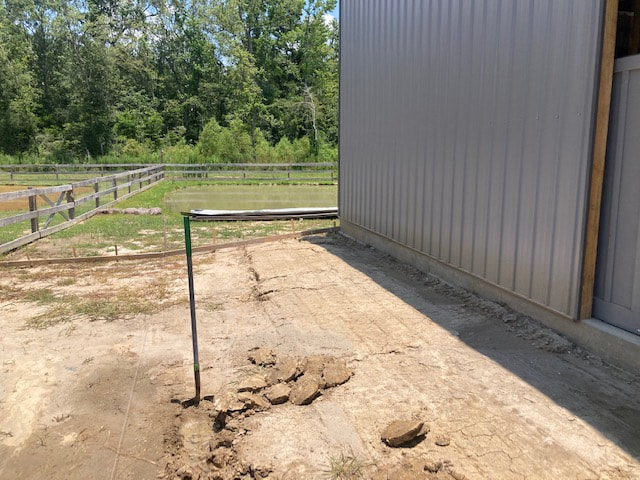
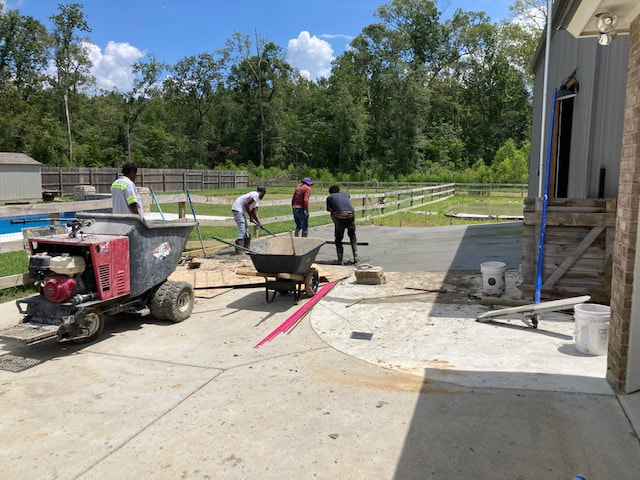
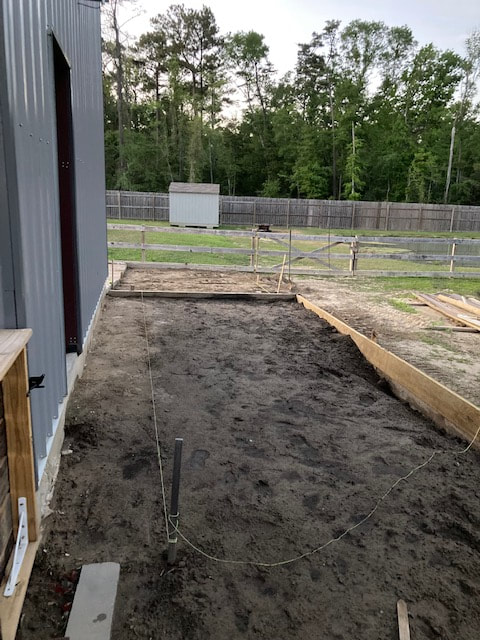
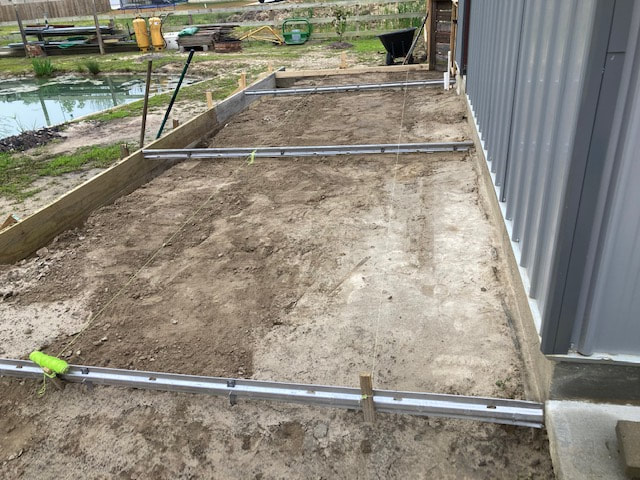
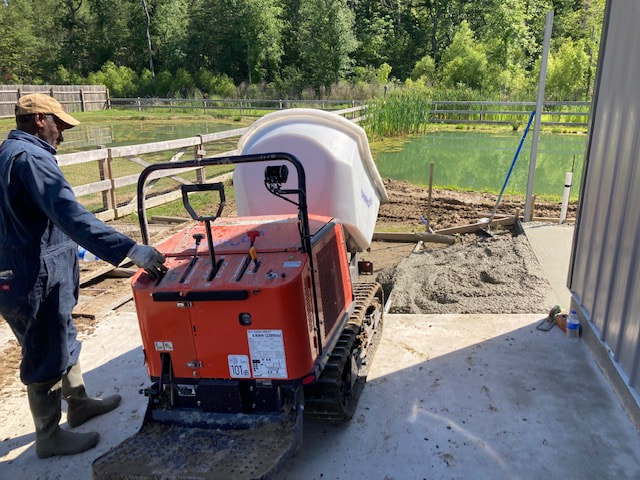
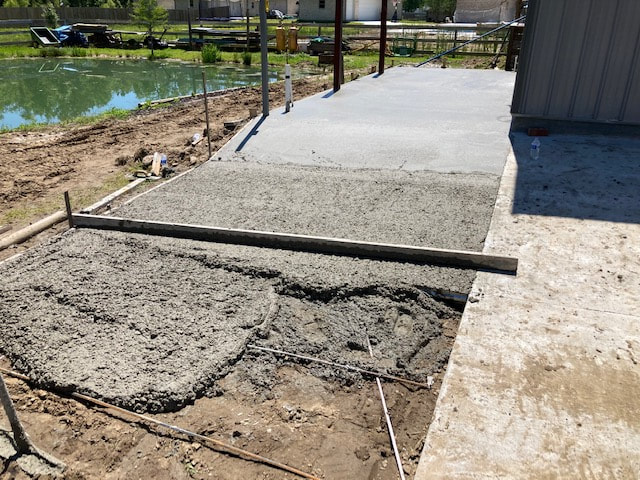
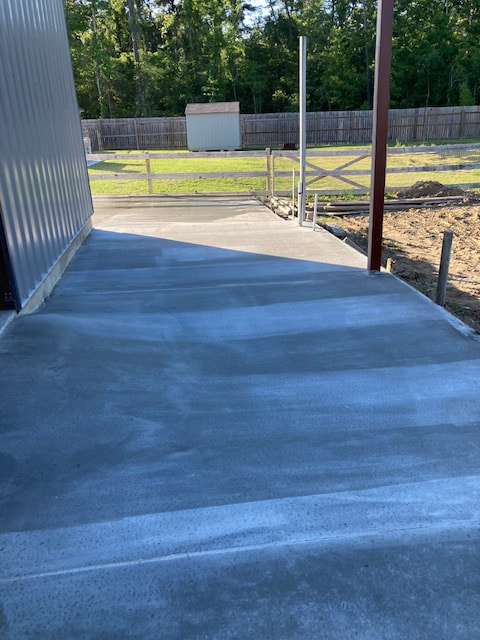
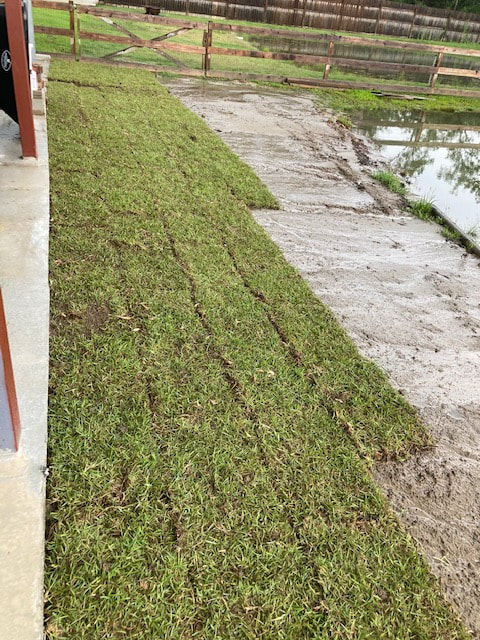
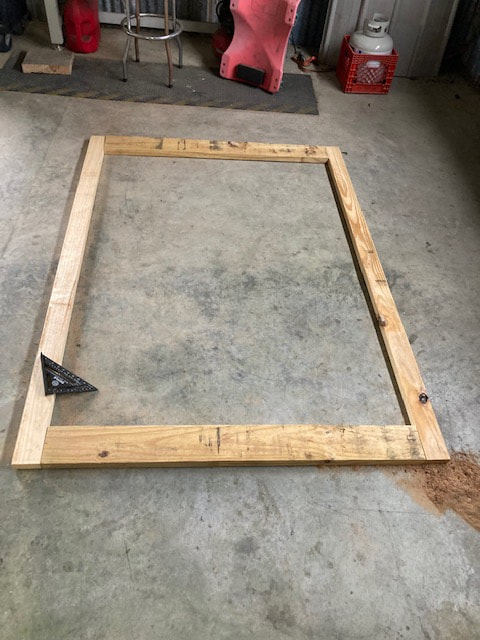
I obtained a Fill Permit to bring clay soil into the area of the shop's location. Once the soil was spread and compacted, I obtained a Building Permit to begin work on a form, for a concrete foundation.
Below are images of the site during preparation and building. Click on the images and it will load a Slide Show with descriptions for you to scroll through.
Measures will be 20' in width by 35' in length (700 sf.) on a traditional Slab-on-Grade foundation.
The side walls will be 14' high.
A mezzanine (loft, 20' X 12') will be built that will cover 1/3 the size of the shop's main floor.
This will give us about 940 sf. of combined work/storage area.
I obtained a Fill Permit to bring clay soil into the area of the shop's location. Once the soil was spread and compacted, I obtained a Building Permit to begin work on a form, for a concrete foundation.
Below are images of the site during preparation and building. Click on the images and it will load a Slide Show with descriptions for you to scroll through.

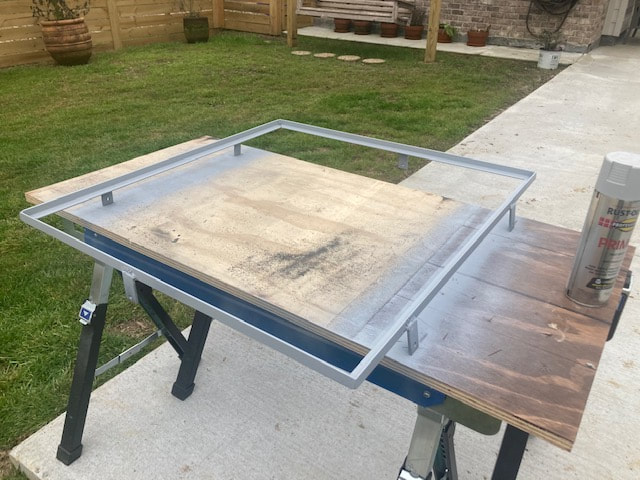
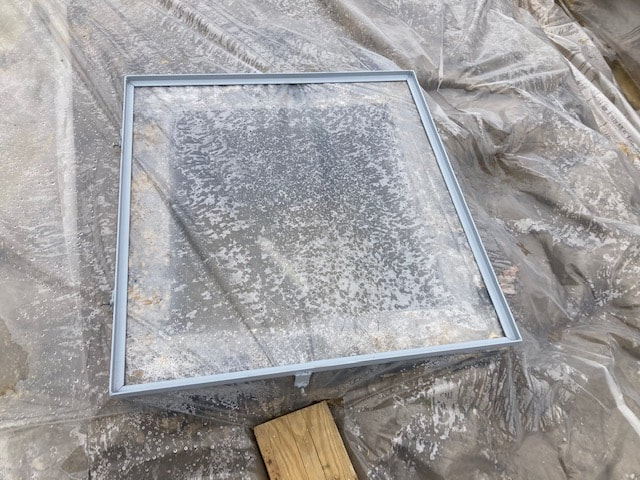


Mobile Planter Project
- Made from an old livestock water trough -
July 2024
- Made from an old livestock water trough -
July 2024


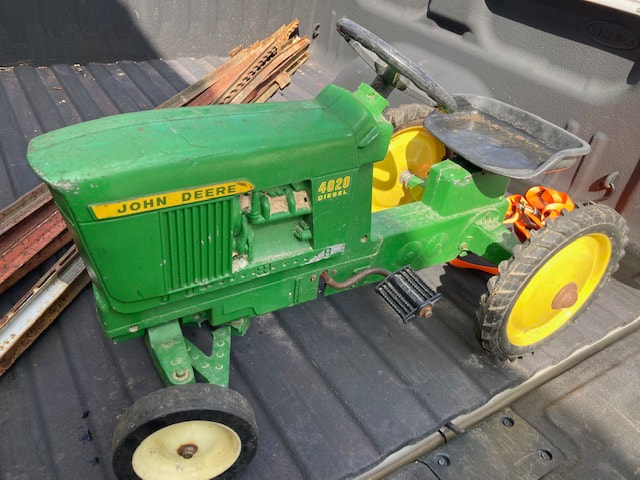
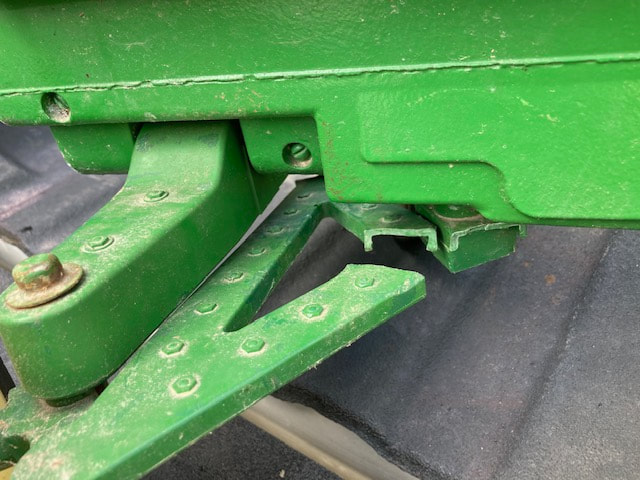
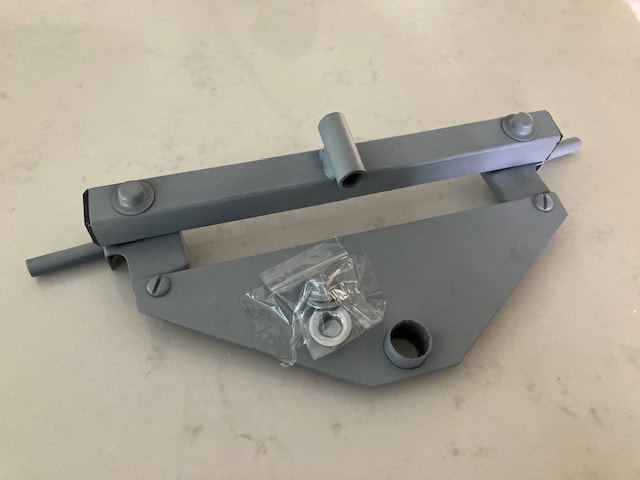
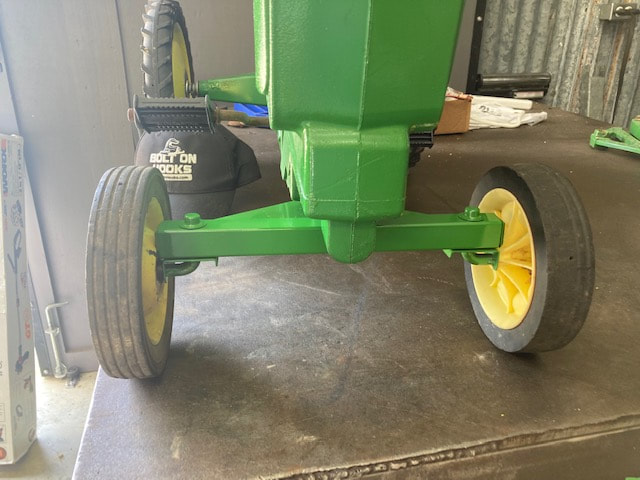
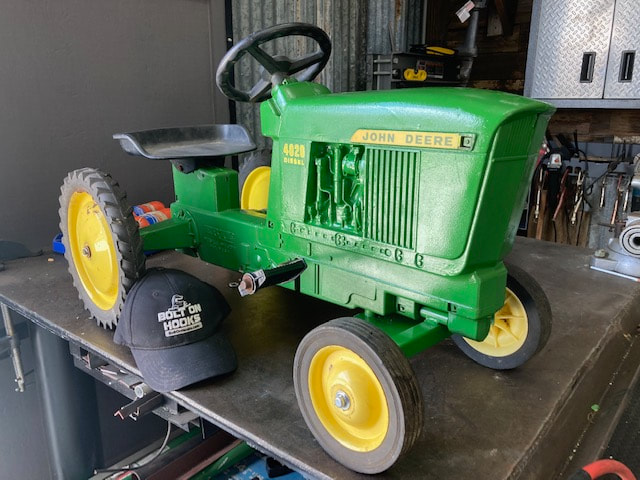
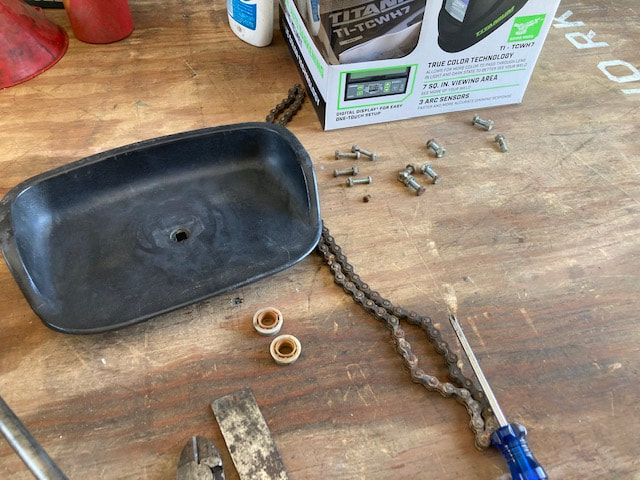
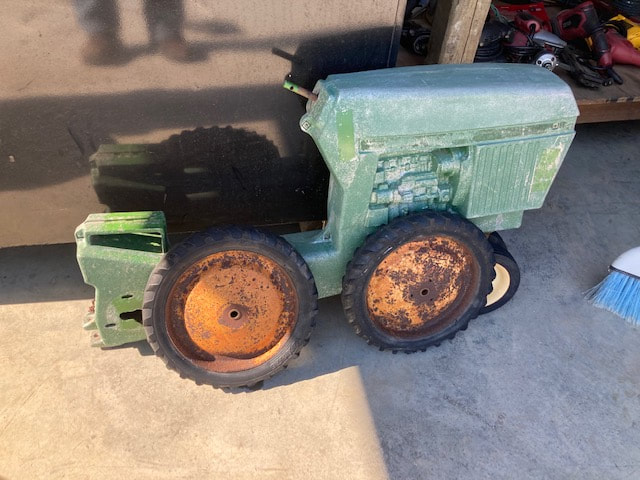
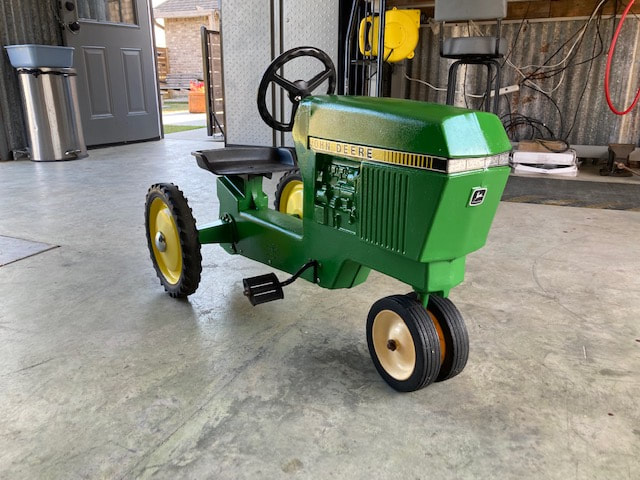
July 2023 - ERTL John Deere 4020 Pedal Tractor Repair
Broken plastic front axle parts replaced with all steel front axle assembly.
Broken plastic front axle parts replaced with all steel front axle assembly.
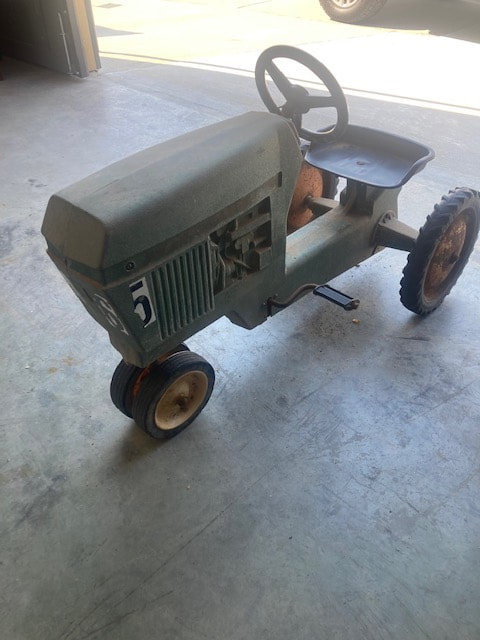
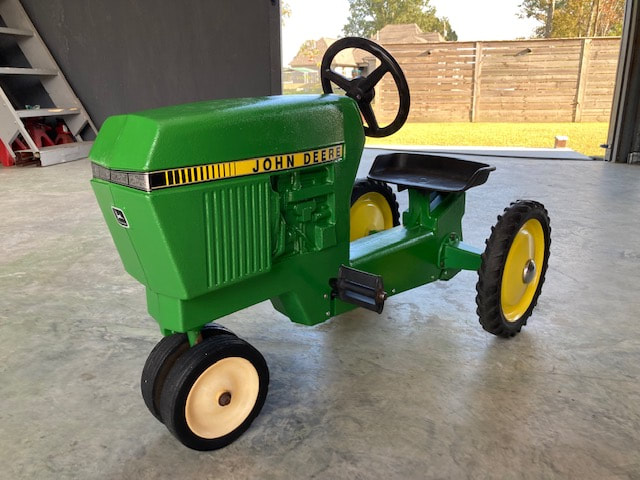
October 2022 - ERTL model 520 Pedal Tractor (John Deere 50 series)
Note: This pedal tractor is for a neighbor. He requested to have it freshened up, as it will be a birthday gift to his 2-year old grandson.
Note: This pedal tractor is for a neighbor. He requested to have it freshened up, as it will be a birthday gift to his 2-year old grandson.


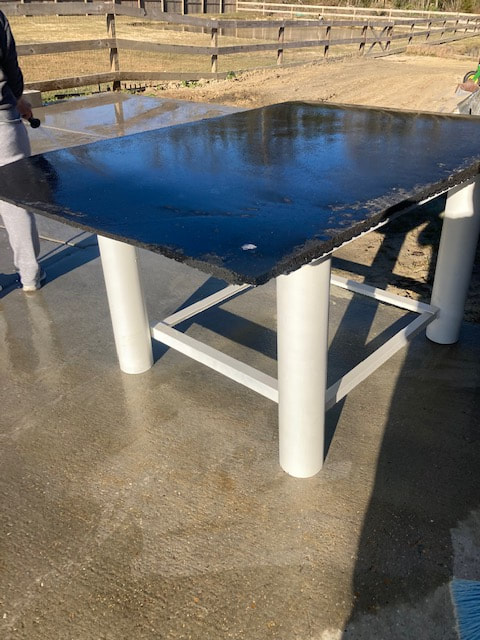
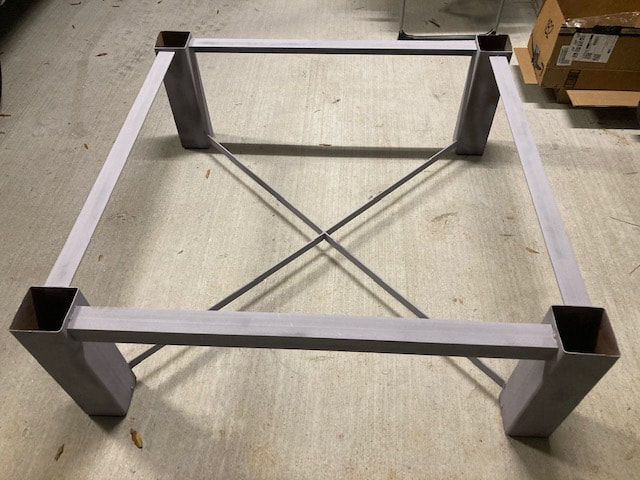
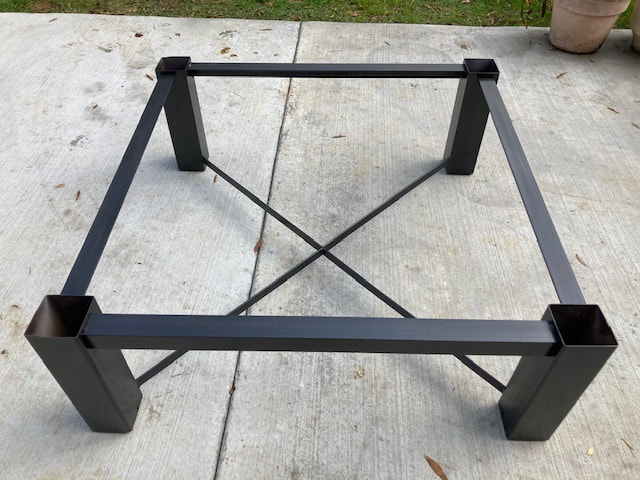
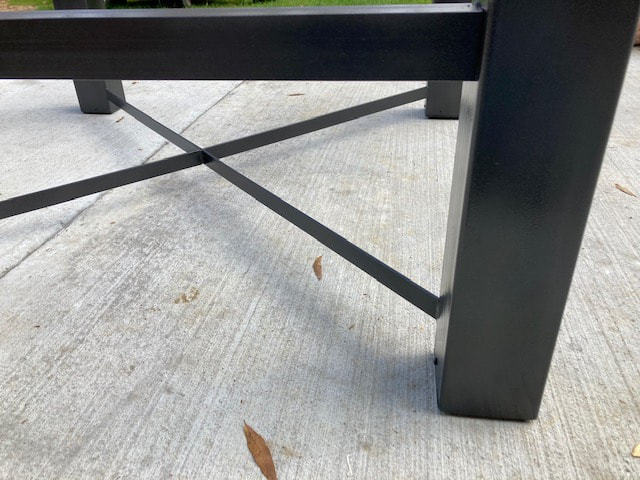
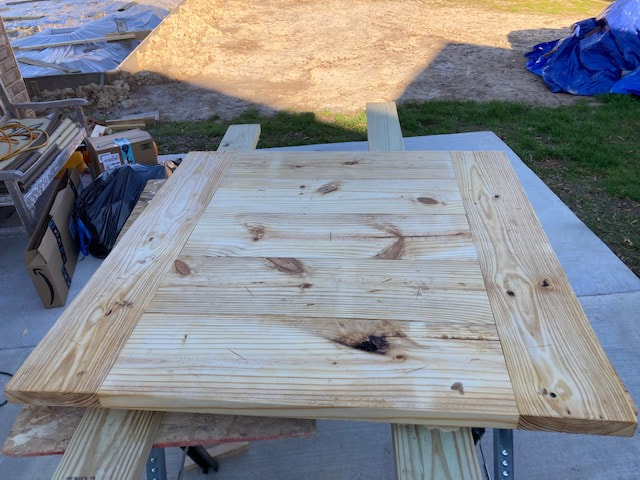
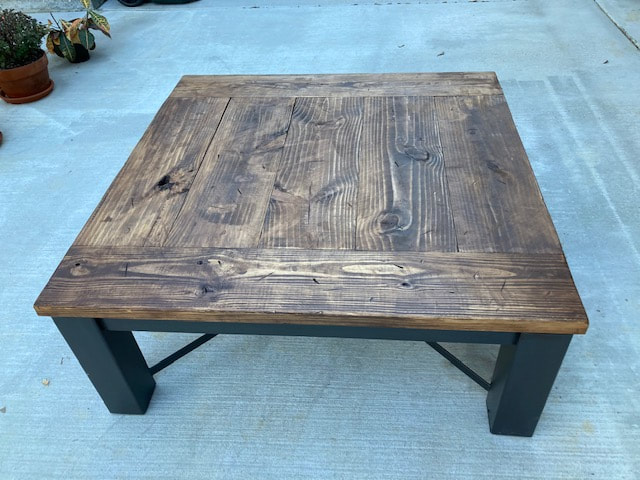
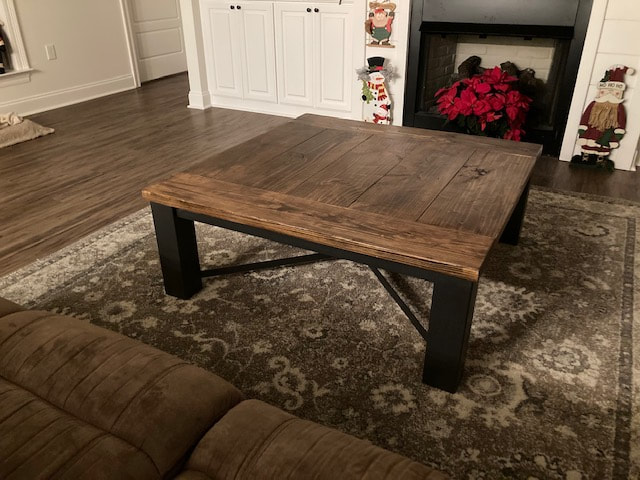
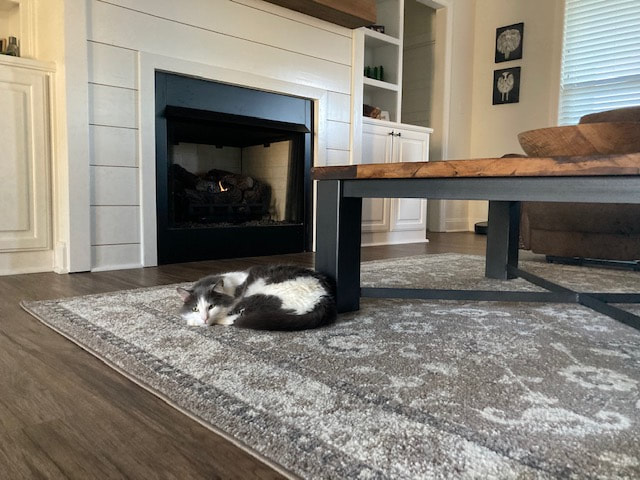
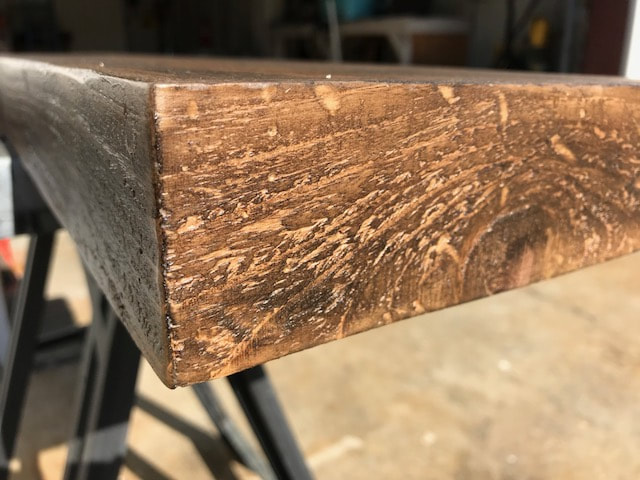
Coffee Table Build for our new house. (Dec. 2020).

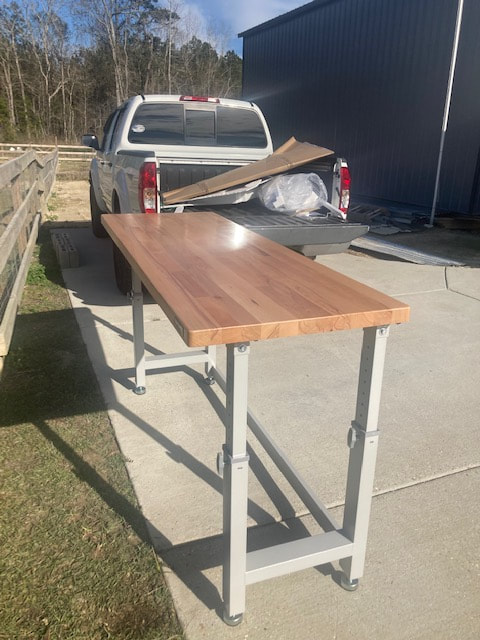
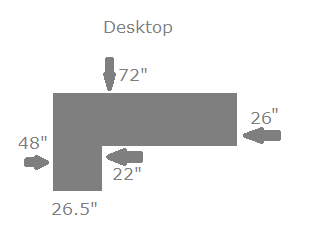
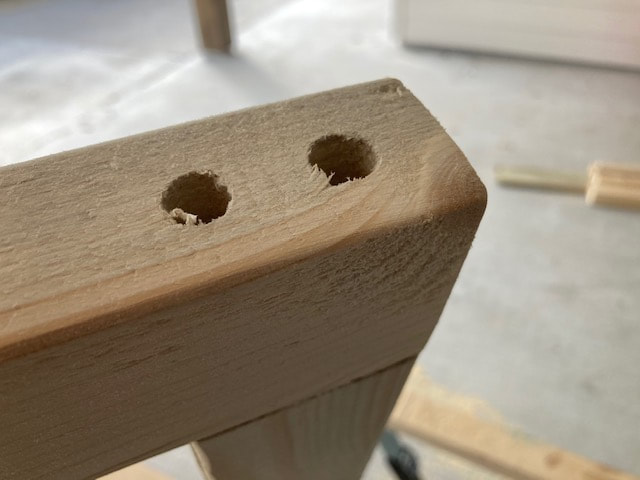
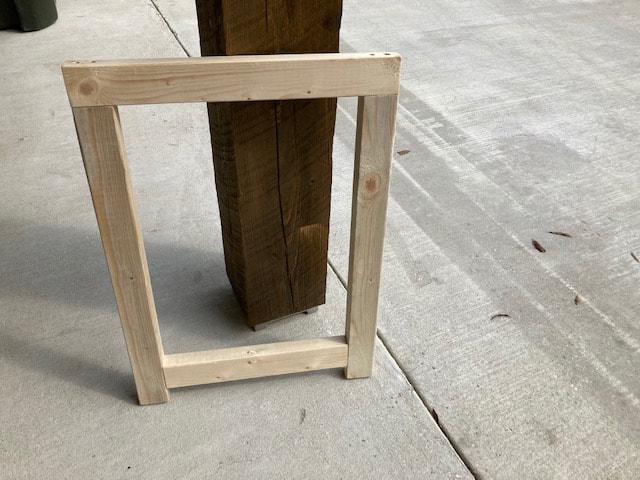
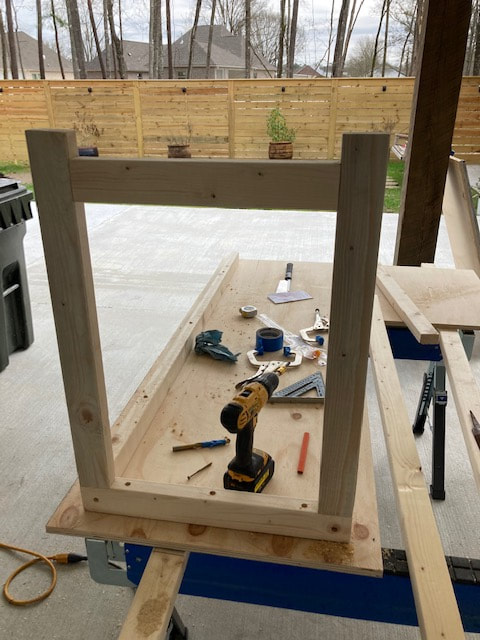
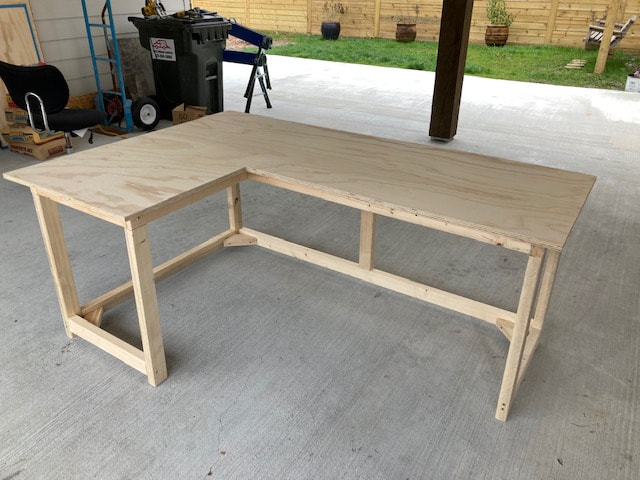
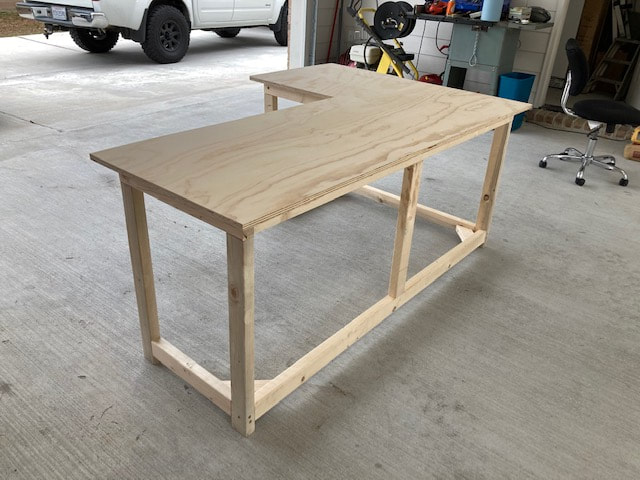
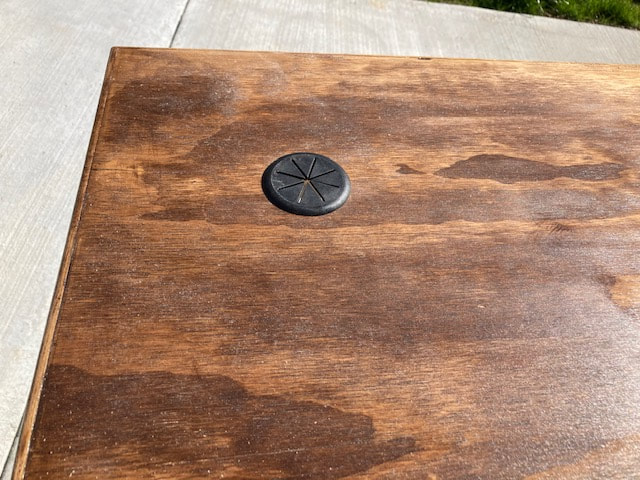
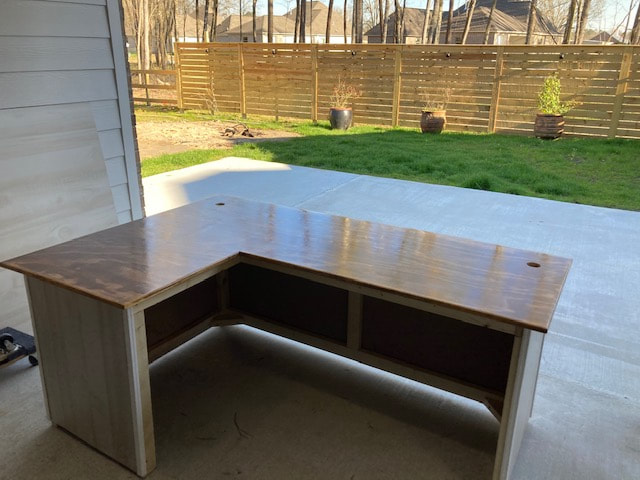
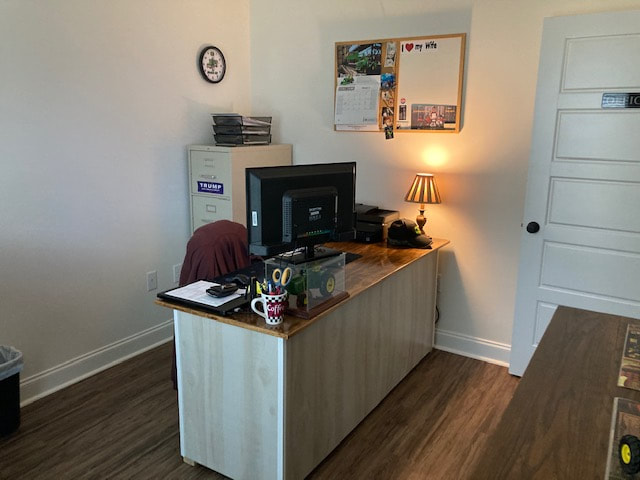
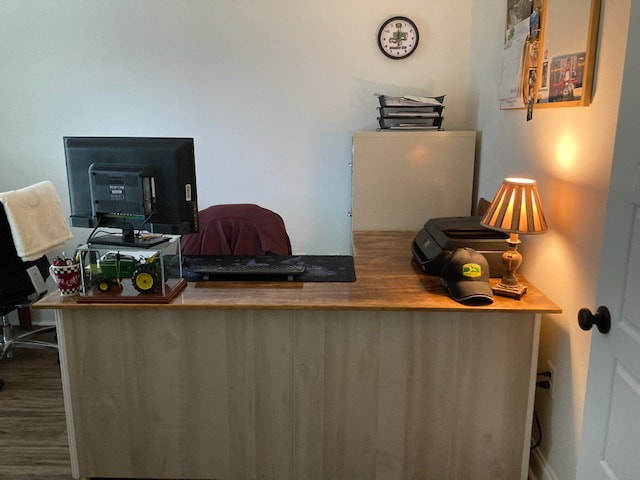
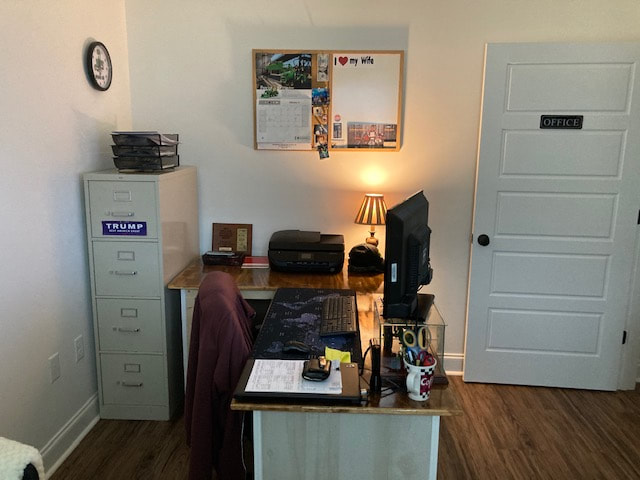
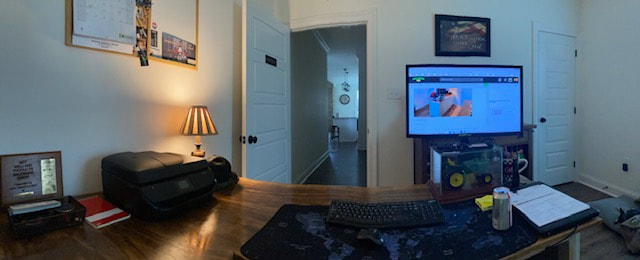
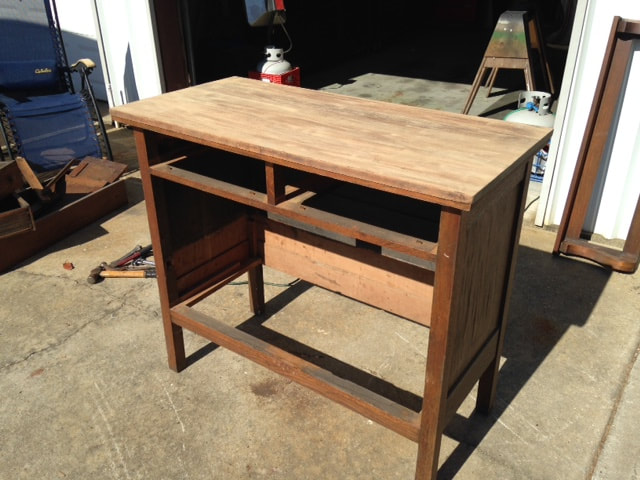
Home Office Desk (Feb. 2021)


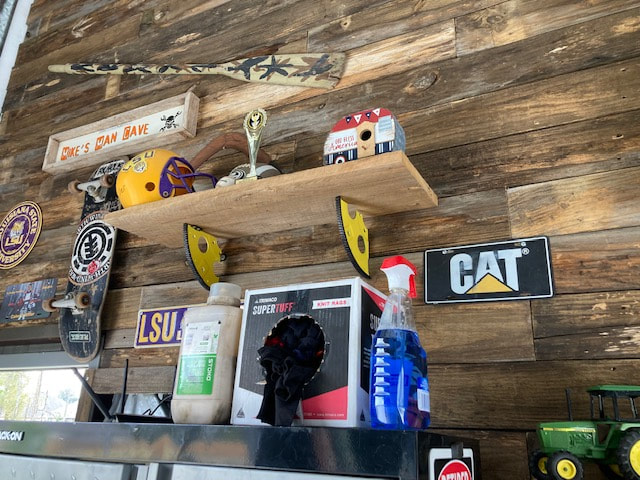
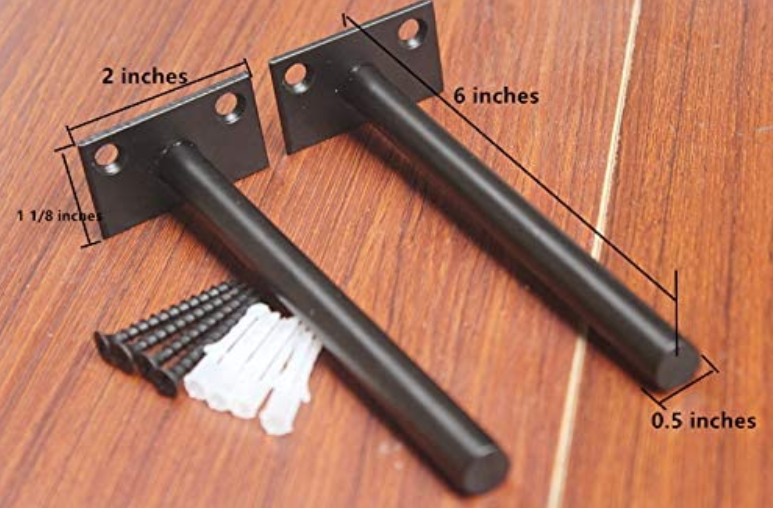
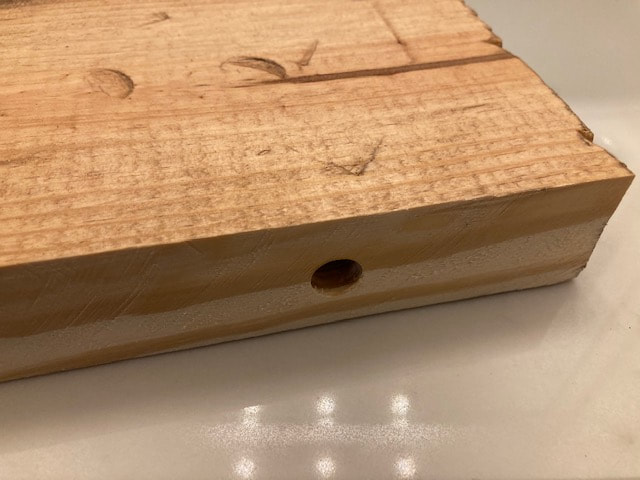
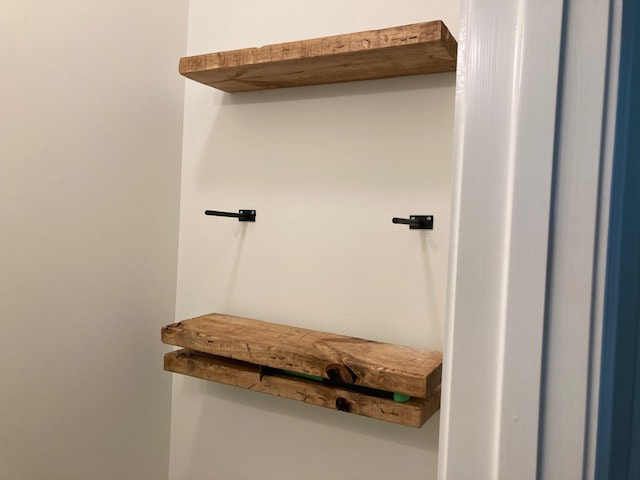
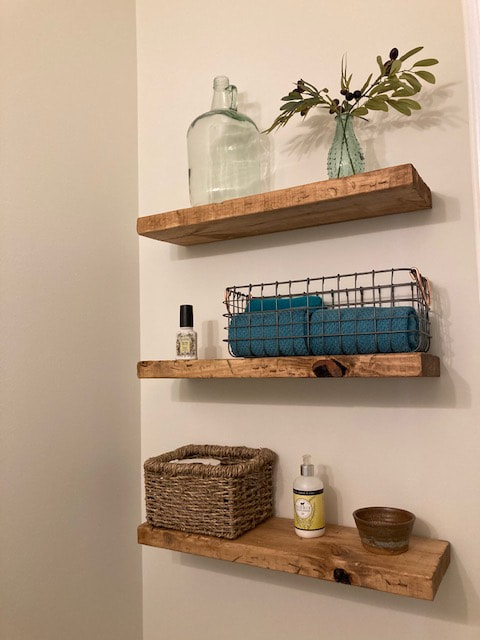
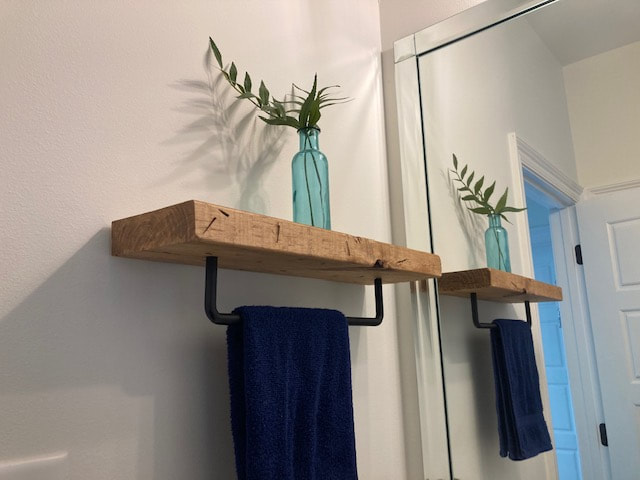
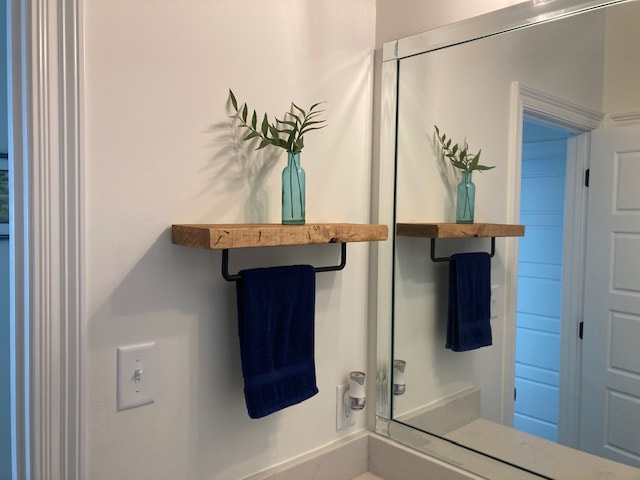
Floating Shelves (July 2020)


Project below are prior to year 2020
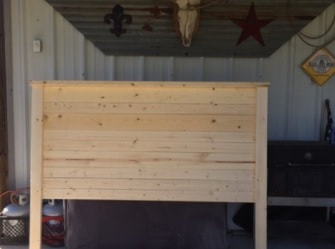
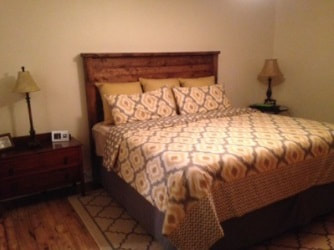
Rustic Headboard Build
(Summer, 2016)
(Summer, 2016)

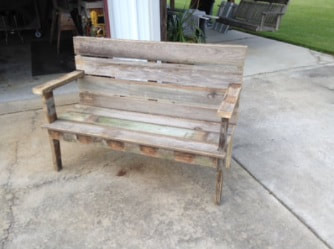
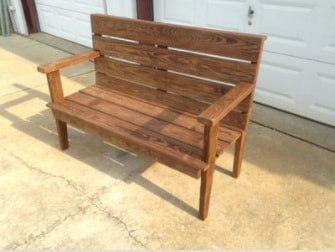
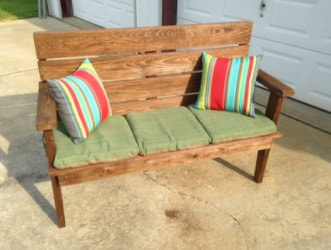
Reclaimed Wood Patio
- A project just for fun -
(Summer - 2017)
- A project just for fun -
(Summer - 2017)
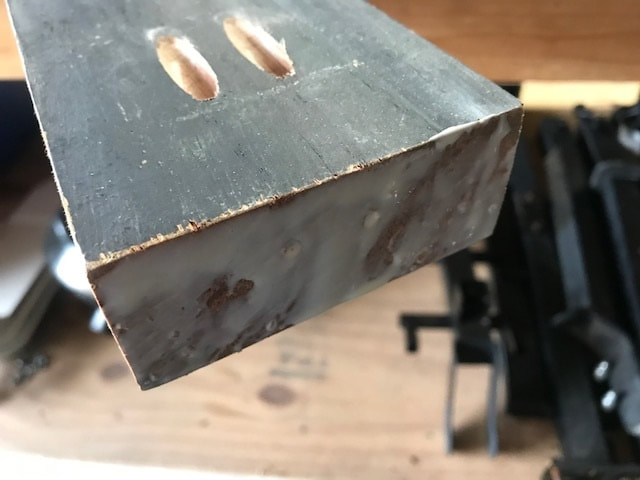
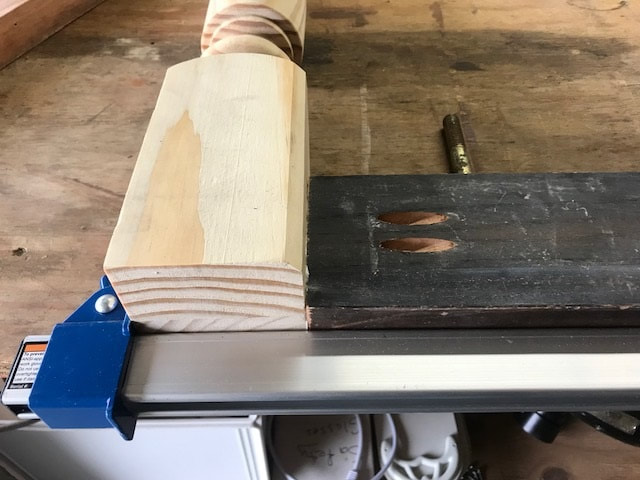
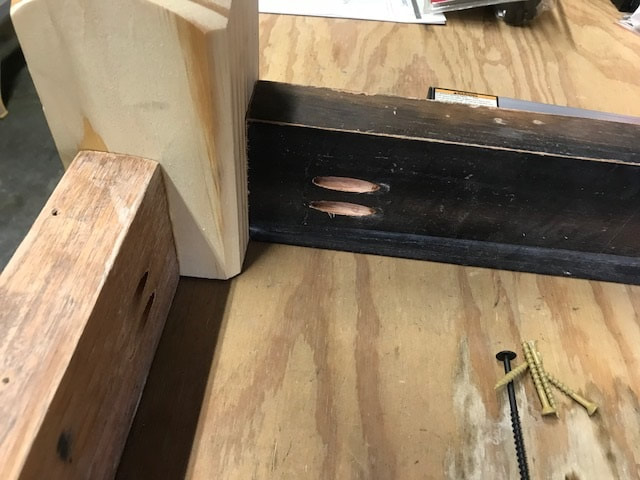
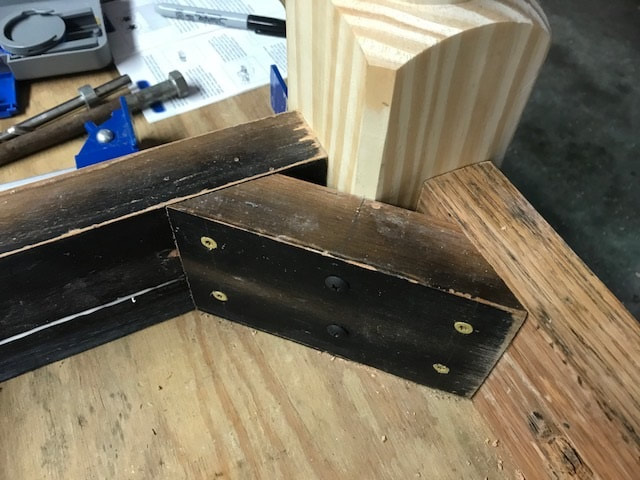
Accent Table
(August - 2017)
(August - 2017)


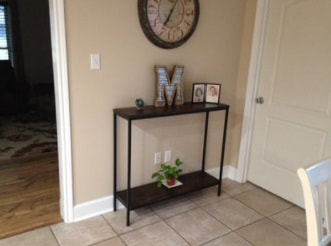
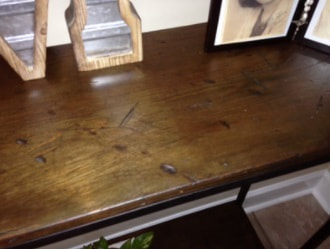

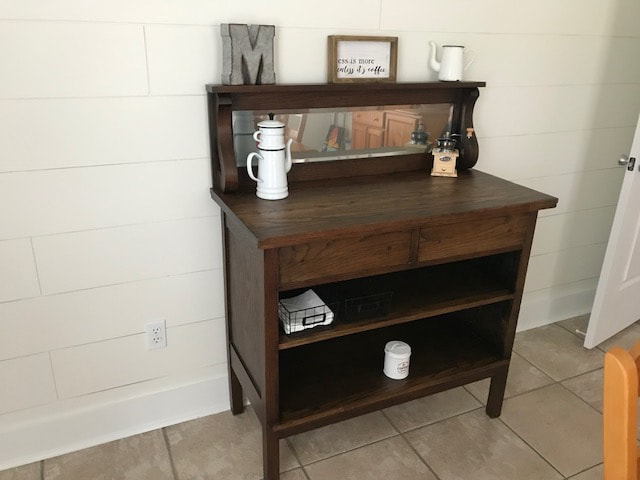
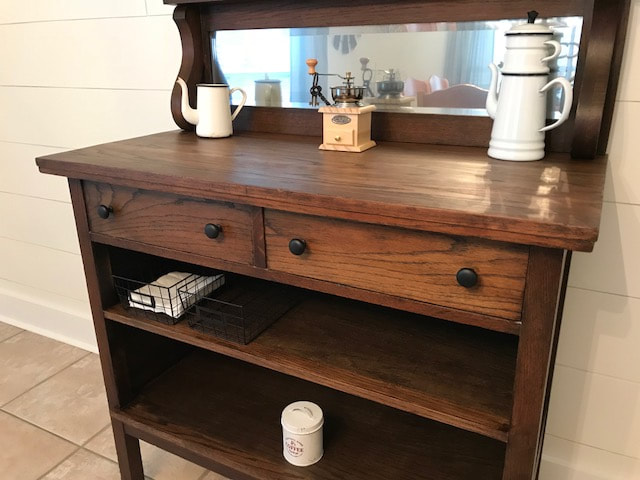
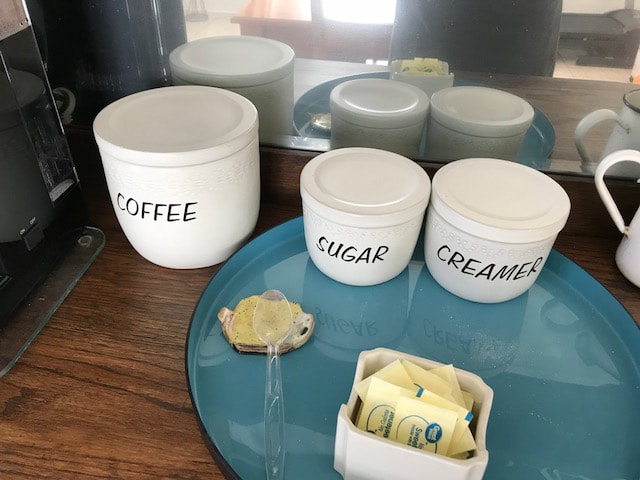
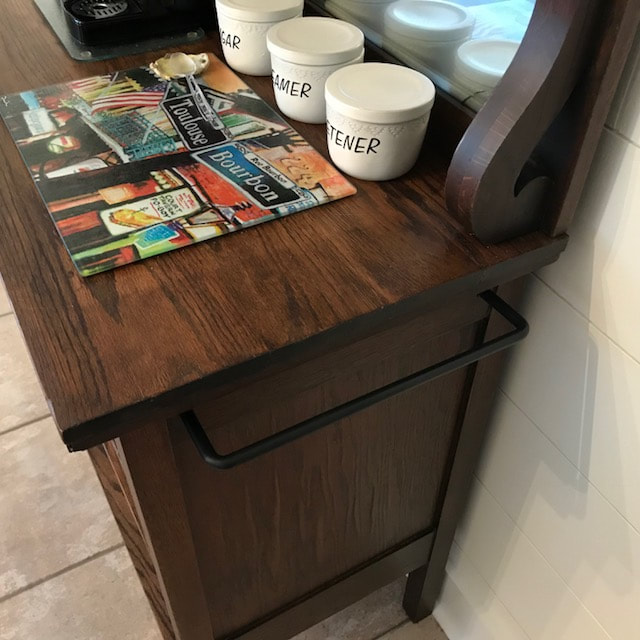
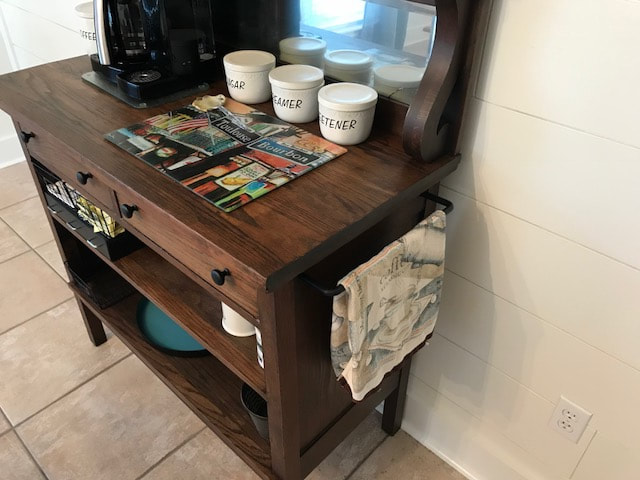
Coffee Bar
(Dec. 2017 - Feb. 2018)
(Dec. 2017 - Feb. 2018)


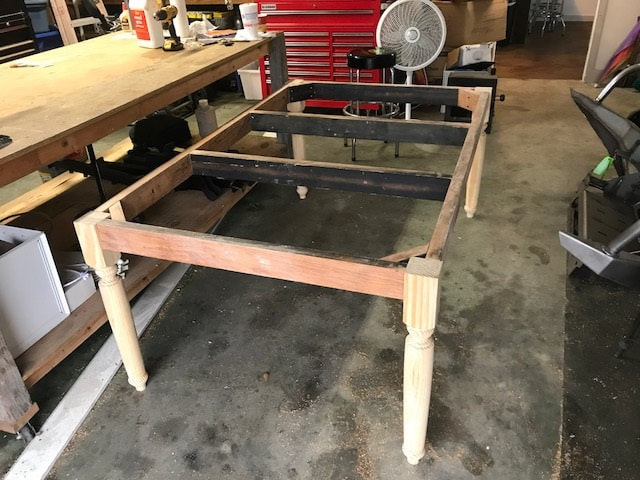
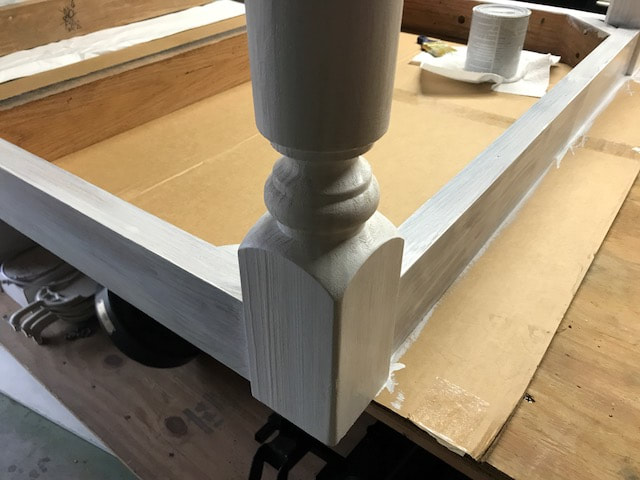
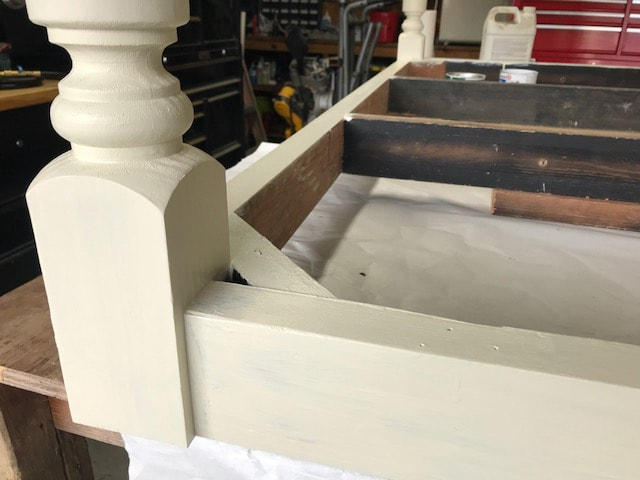
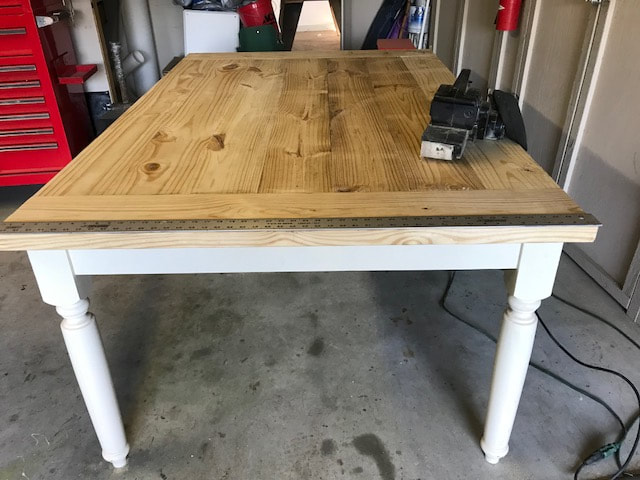
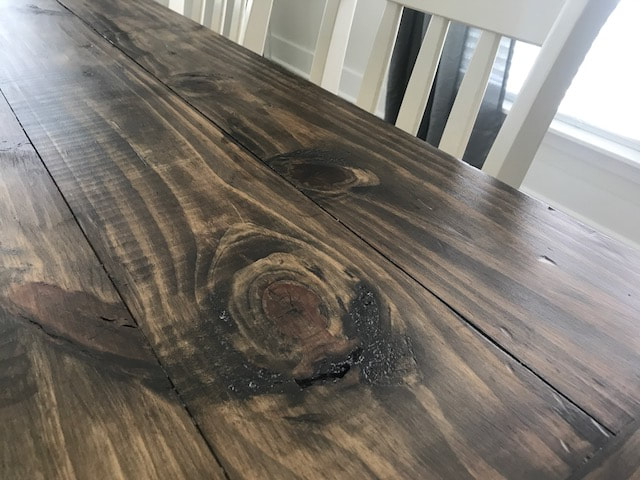
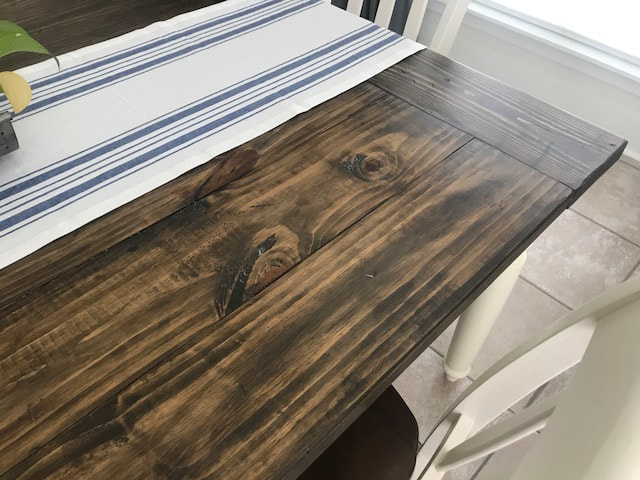
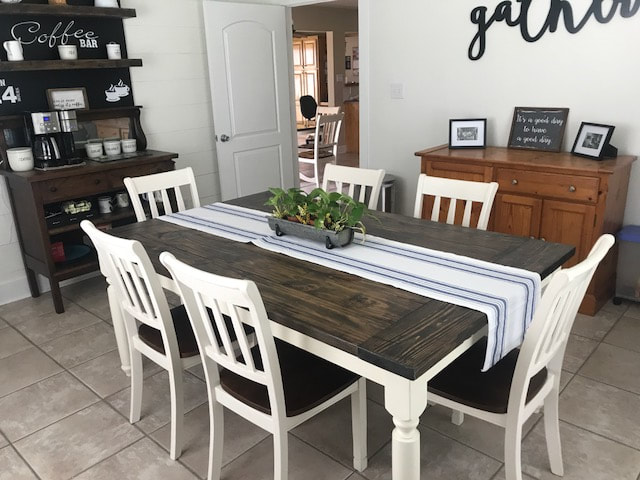
Farmhouse Table build - Spring 2017